Tapestry crochet is a niche of crochet that intimidates a lot of people because it involves a lot of different yarn color changes (resulting in many ends to weave in). However, once you get the hang of the color changes, you realize that this type of crochet, which is based entirely on basic single crochet stitches, is actually really simple. You work with several different colors across each row to create beautiful graphic designs, producing work that seems to be complex, but in the end it's not that hard at all.
How to Change Color in Tapestry Crochet
The most important thing to learn for tapestry crochet is how to work with multiple colors in one row. You're going to use two or more colors in each row, and you're going to crochet one row over the other. The color on the top is going to be the color that you see, and you'll carry the others behind it. You need to have tight stitches so that you don't see the second (or more) colors in the back through the top color.
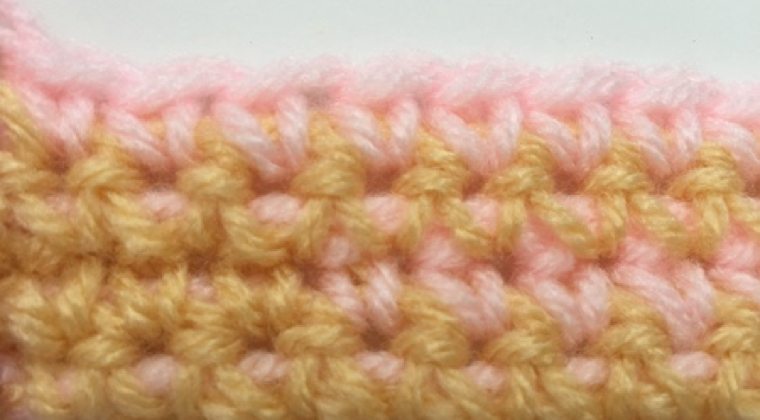
You will be working normal single crochet stitches. The only difference is that you're going to be carrying the additional yarn along with you and working over it as you crochet the row. We'll start with practicing an example of tapestry crochet using just two colors.
Tips
The stitches here have been worked loosely so that you can clearly see the color changes and the yarn carried through the work. When you work tapestry crochet, you should crochet it more tightly, so that you do not see the unused yarn carried through when looking at the front of the work.
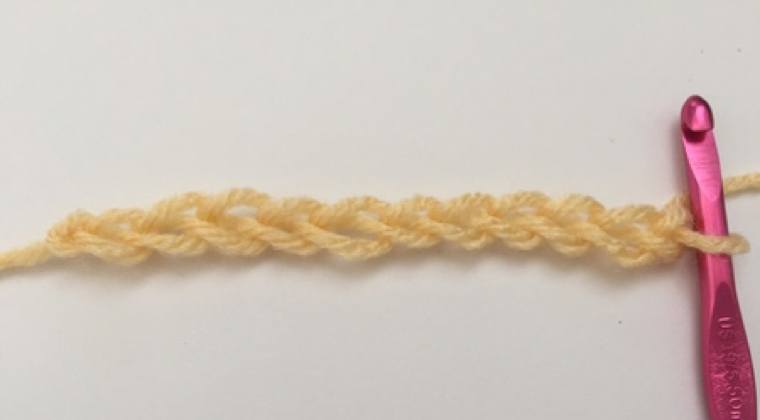
Crochet foundation row in Color A.
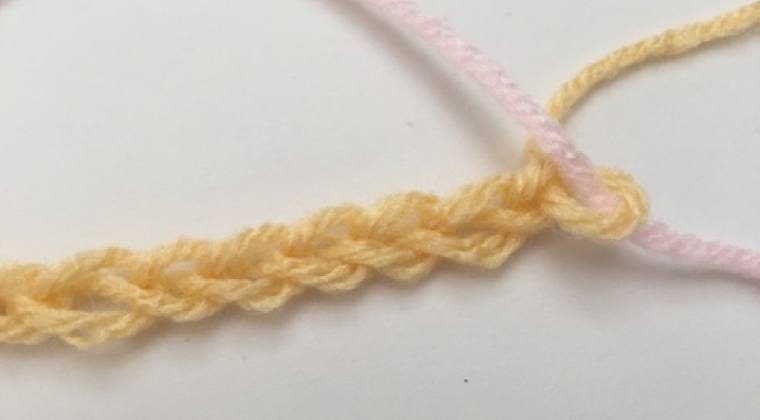
Join Color B.
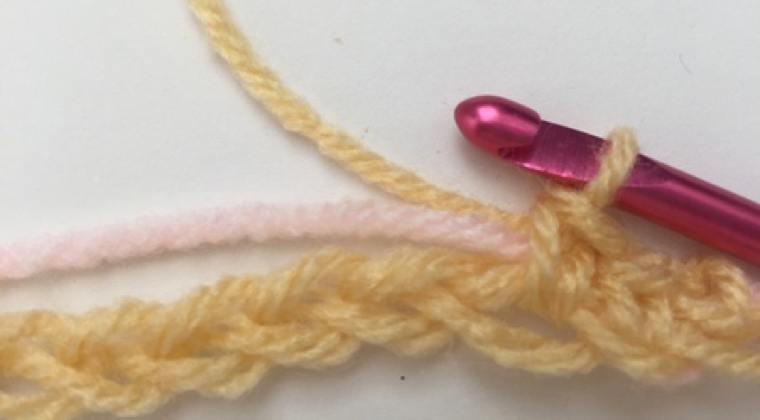
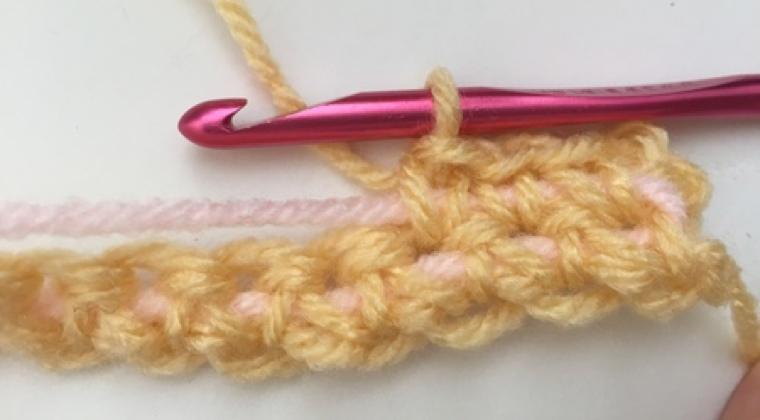
Crochet Row 1 in Color A, working over Color B by holding Color B parallel to the foundation row, inserting your hook through both loops of your stitch and underneath Color B and working your stitch as normal, over the Color B yarn..
Turn and begin to crochet Row 2 with Color A, continuing to work over Color B.
When you are ready to change colors, it will happen in the middle of a stitch. When you have 2 loops of Color A on your hook, do the last yarn over in Color B and draw through all of the loops on the hook to finish the stitch in the new color.
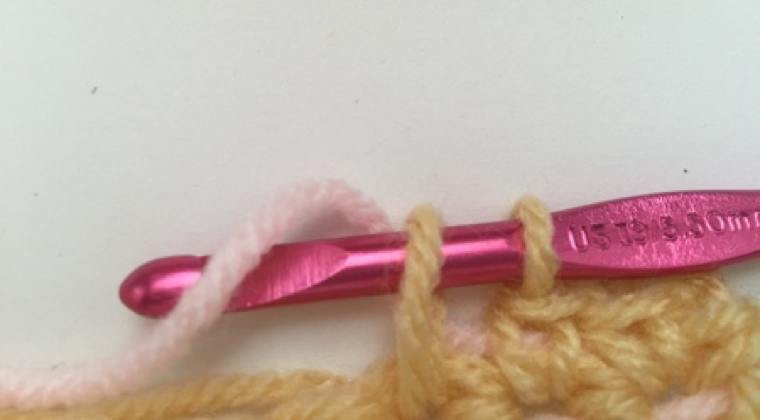
Then carry Color A behind the work while making the new stitches in Color B (over Color A).
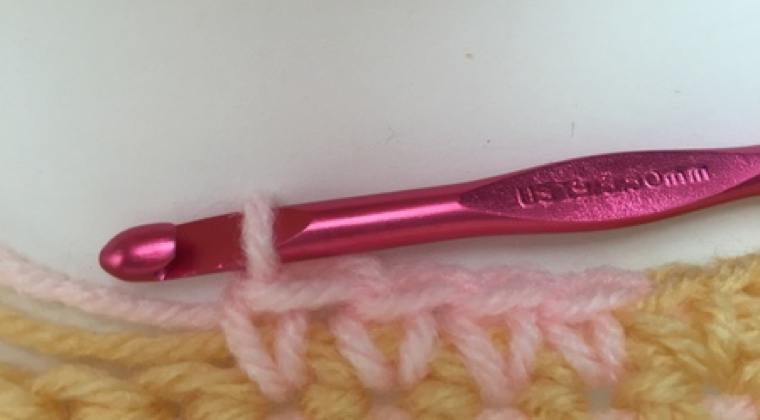
Continue to change colors. This is how to work Tapestry Crochet.
Right Side vs. Wrong Side
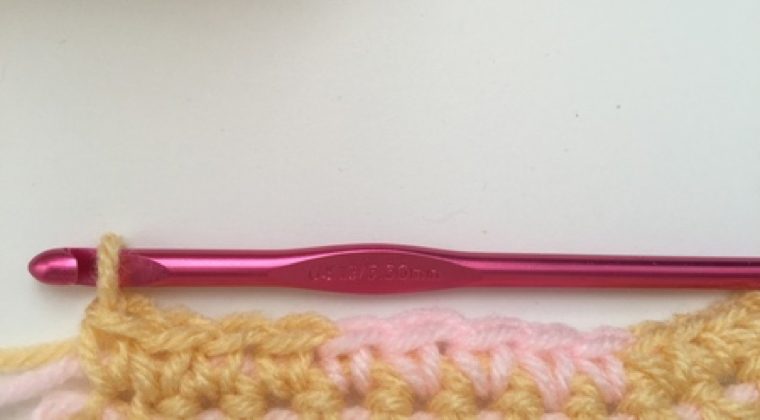
Assuming that you do all of your work correctly, your tapestry crochet patterns are essentially reversible. However, the right and wrong sides of the work do appear a little bit different from one another. When working in rows, instead of rounds, you should always be aware of whether you're working on the right or wrong side so that you can make sure that the right side is always the neatest and cleanest. The big difference is how you begin each row. When you are starting the row on the right side, you want your background yarn to be held behind the work before you crochet over it. When you are working on the wrong side, hold the background yarn in front of your work before crocheting over it. The wrong side will be a little more bumpy and less perfect (although you should still see the same pattern, or rather its reverse image) while the right side will be precise.
Reading Tapestry Crochet Patterns
Tapestry crochet patterns can be written in text (row by row, as most crochet patterns are) or using a grid-based graph. In a grid (unless otherwise specified by the designer) each square is equal to one stitch, and you change colors according to the changes shown on the graph. So you simply follow the chart, making one single crochet stitch for each box, changing colors when they change in the box. Odd rows are worked right-to-left and even rows are worked left-to-right (for right-handed crocheters.)
Tips
Most tapestry crochet patterns (whether written or charted) are written for right-handed crocheters. Learn more about how to adapt them from our guide for left-handed crochet.
Note on Crochet Stitches
Tapestry crochet typically uses single crochet stitches from start to finish. However, you can work tapestry crochet with other stitches as well, such as half double crochet or double crochet stitches. Your pattern will tell you which stitches to use, of course. The basic steps are the same regardless of which stitches you use; just be sure to be consistent throughout the project.
Tips for Tapestry Crochet
-
Tension matters in tapestry crochet. You should err on the side of crocheting tight, rather than loose, and you should adjust your hook and yarn choices accordingly.
-
Work with yarn that has great stitch definition. You need to be able to see each stitch. Of course, as you get comfortable with tapestry crochet, you can explore the effect of the technique using different yarns.
-
Work with two colors of yarn throughout the entire project, carrying the unused color behind the color you are using, whether or not there are color changes in a row. (Some patterns say otherwise, and some people prefer not to carry the yarn all the way through if they don't have to - to save yarn - but the most precise design will result from carrying all of the yarn through the whole project, as this maintains the correct tension and texture throughout the project.) If you are working with 3 or more colors in the same row (not common but it happens in occasional patterns) then you can carry more than one yarn as needed. Atelier Sopra has a good tip for using cups or yarn bowls to keep your different colors from getting tangled when working in tapestry crochet.
-
If you see the background yarn through the foreground stitches, try to gently pull the background yarn through before every color changes to tighten all of the stitches.
-
When reading from a chart, use a second piece of paper or a sticky note to cover the rows that you've already worked on so that you can easily see which row you should be working on next.
-
Try working tapestry in the round before working tapestry in rows. All of the color changes will be made in the same way, with the background yarn carried behind, with no need to worry about right and wrong sides, so it's slightly easier for beginners.