Free Bernat Cozy Crochet Hoodie Pattern, 3 yrs
Item# BRC0229-002012V
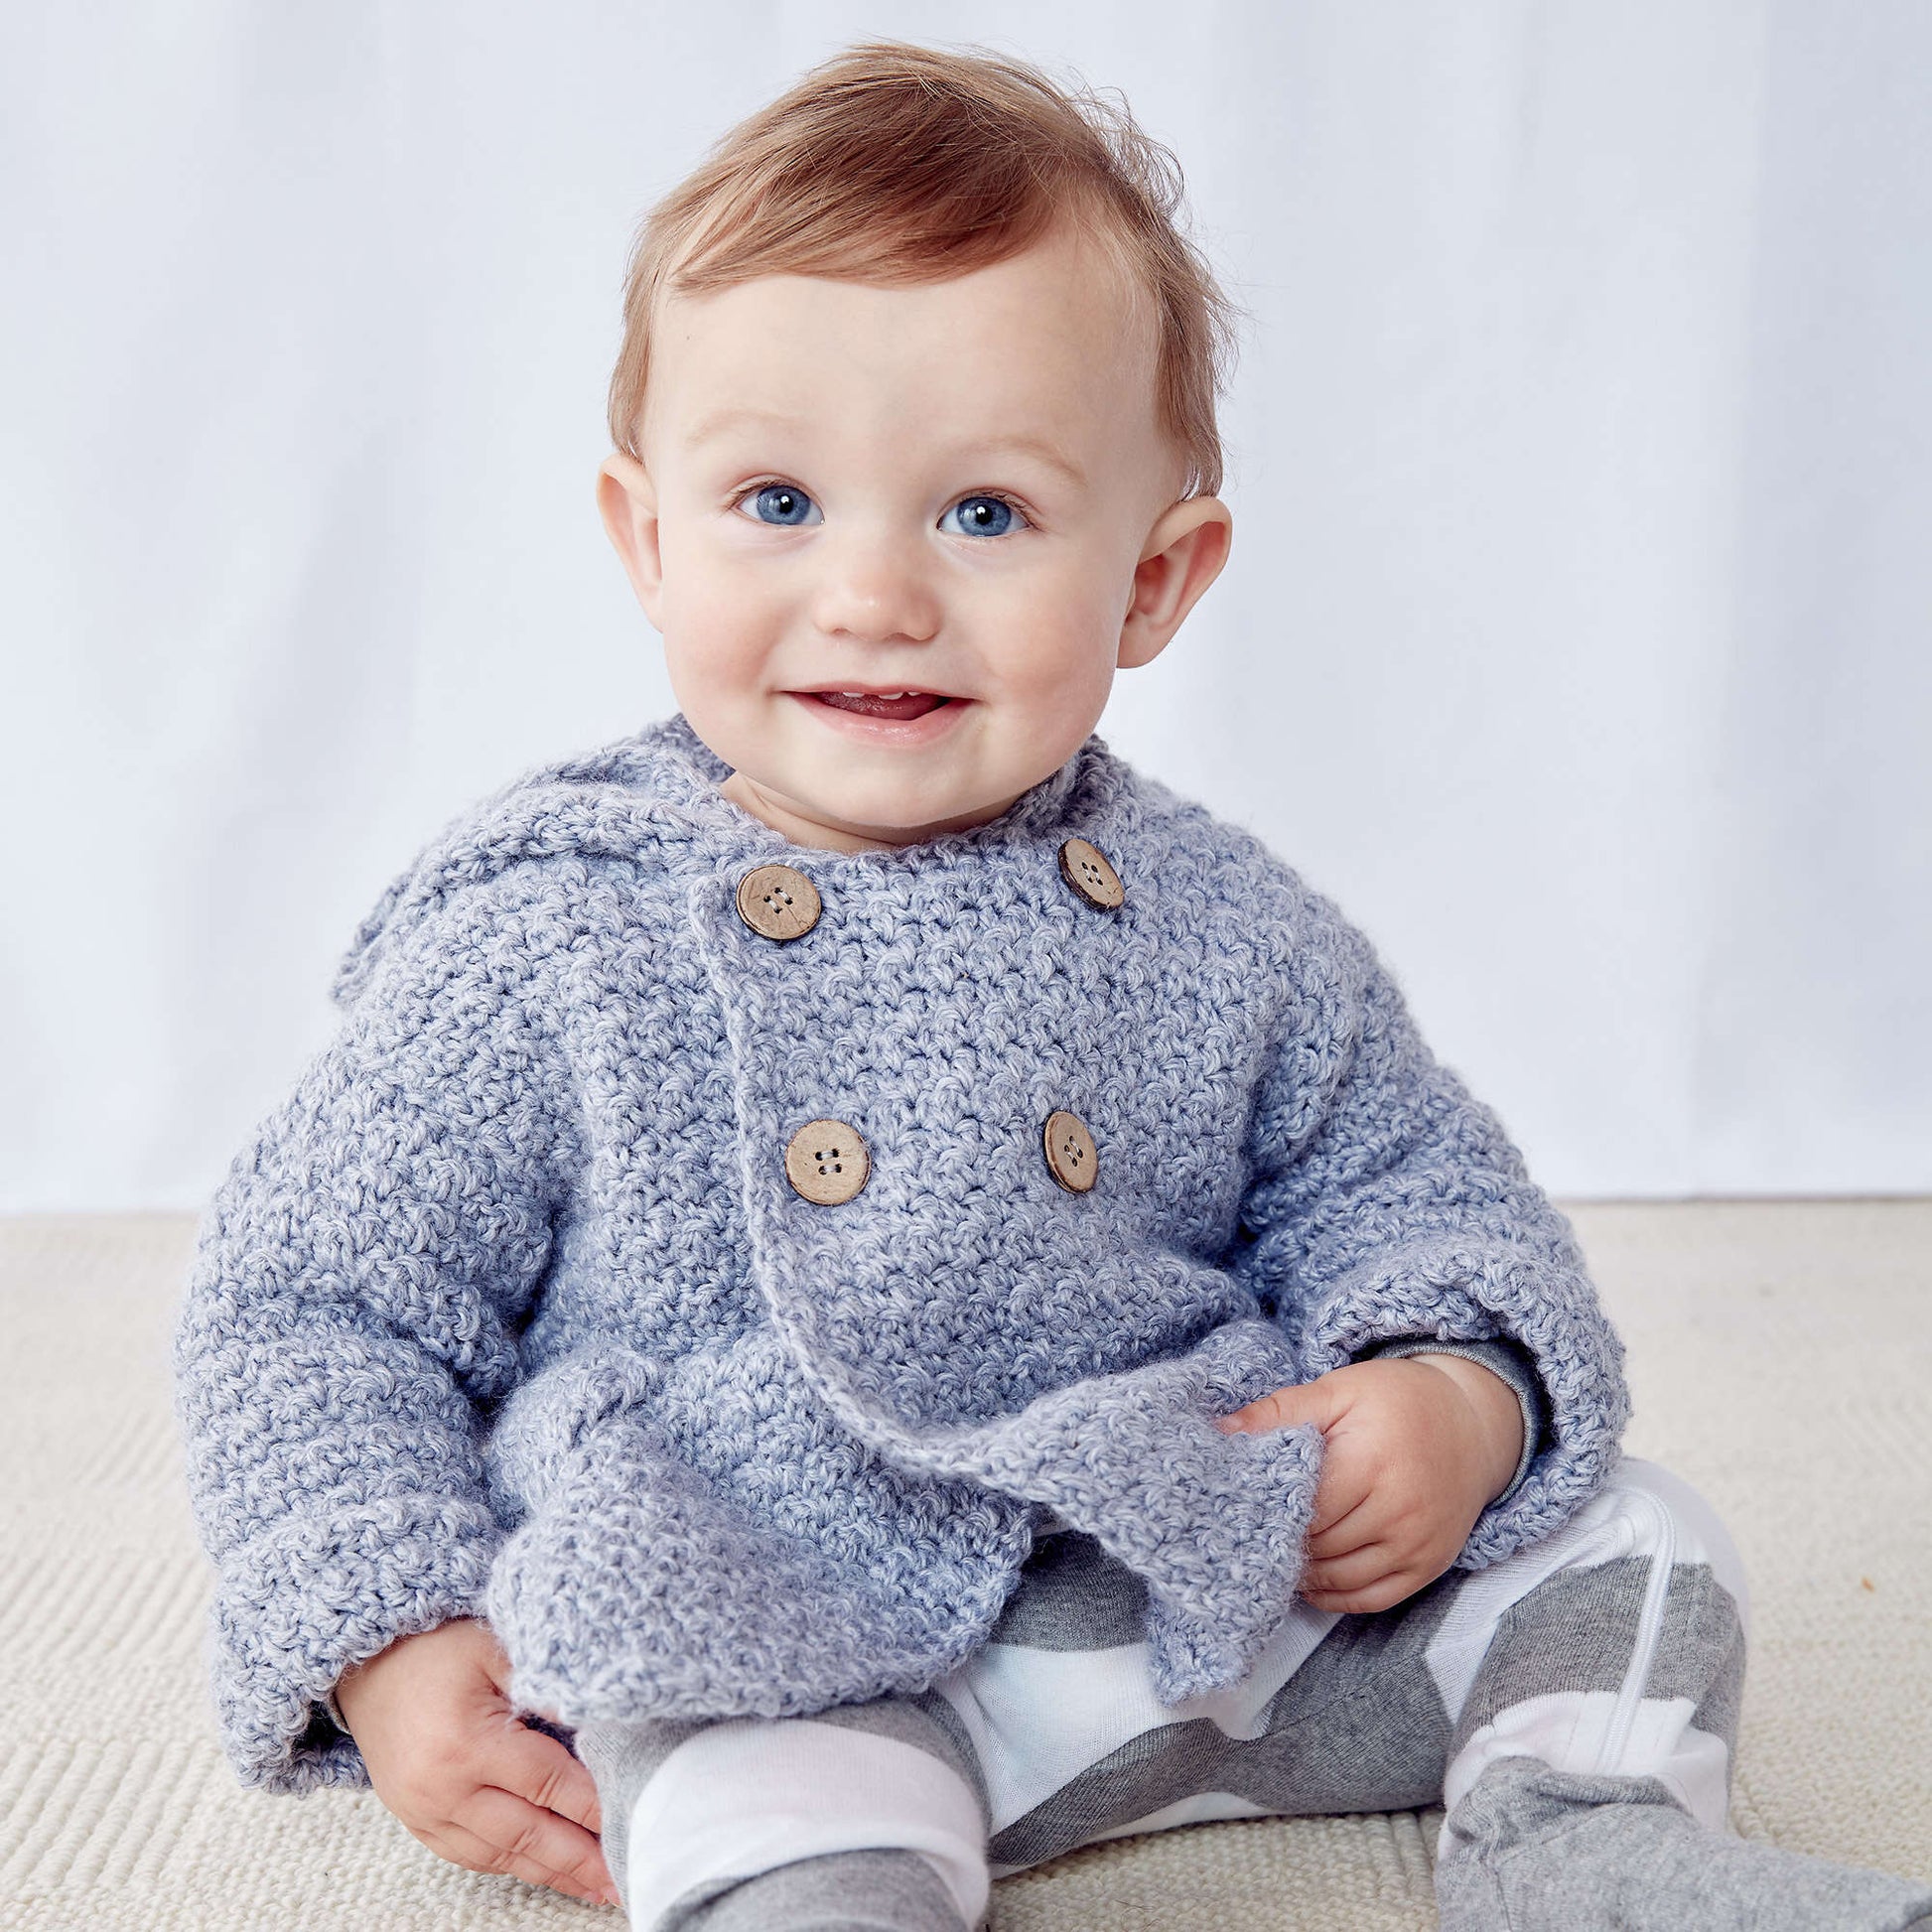
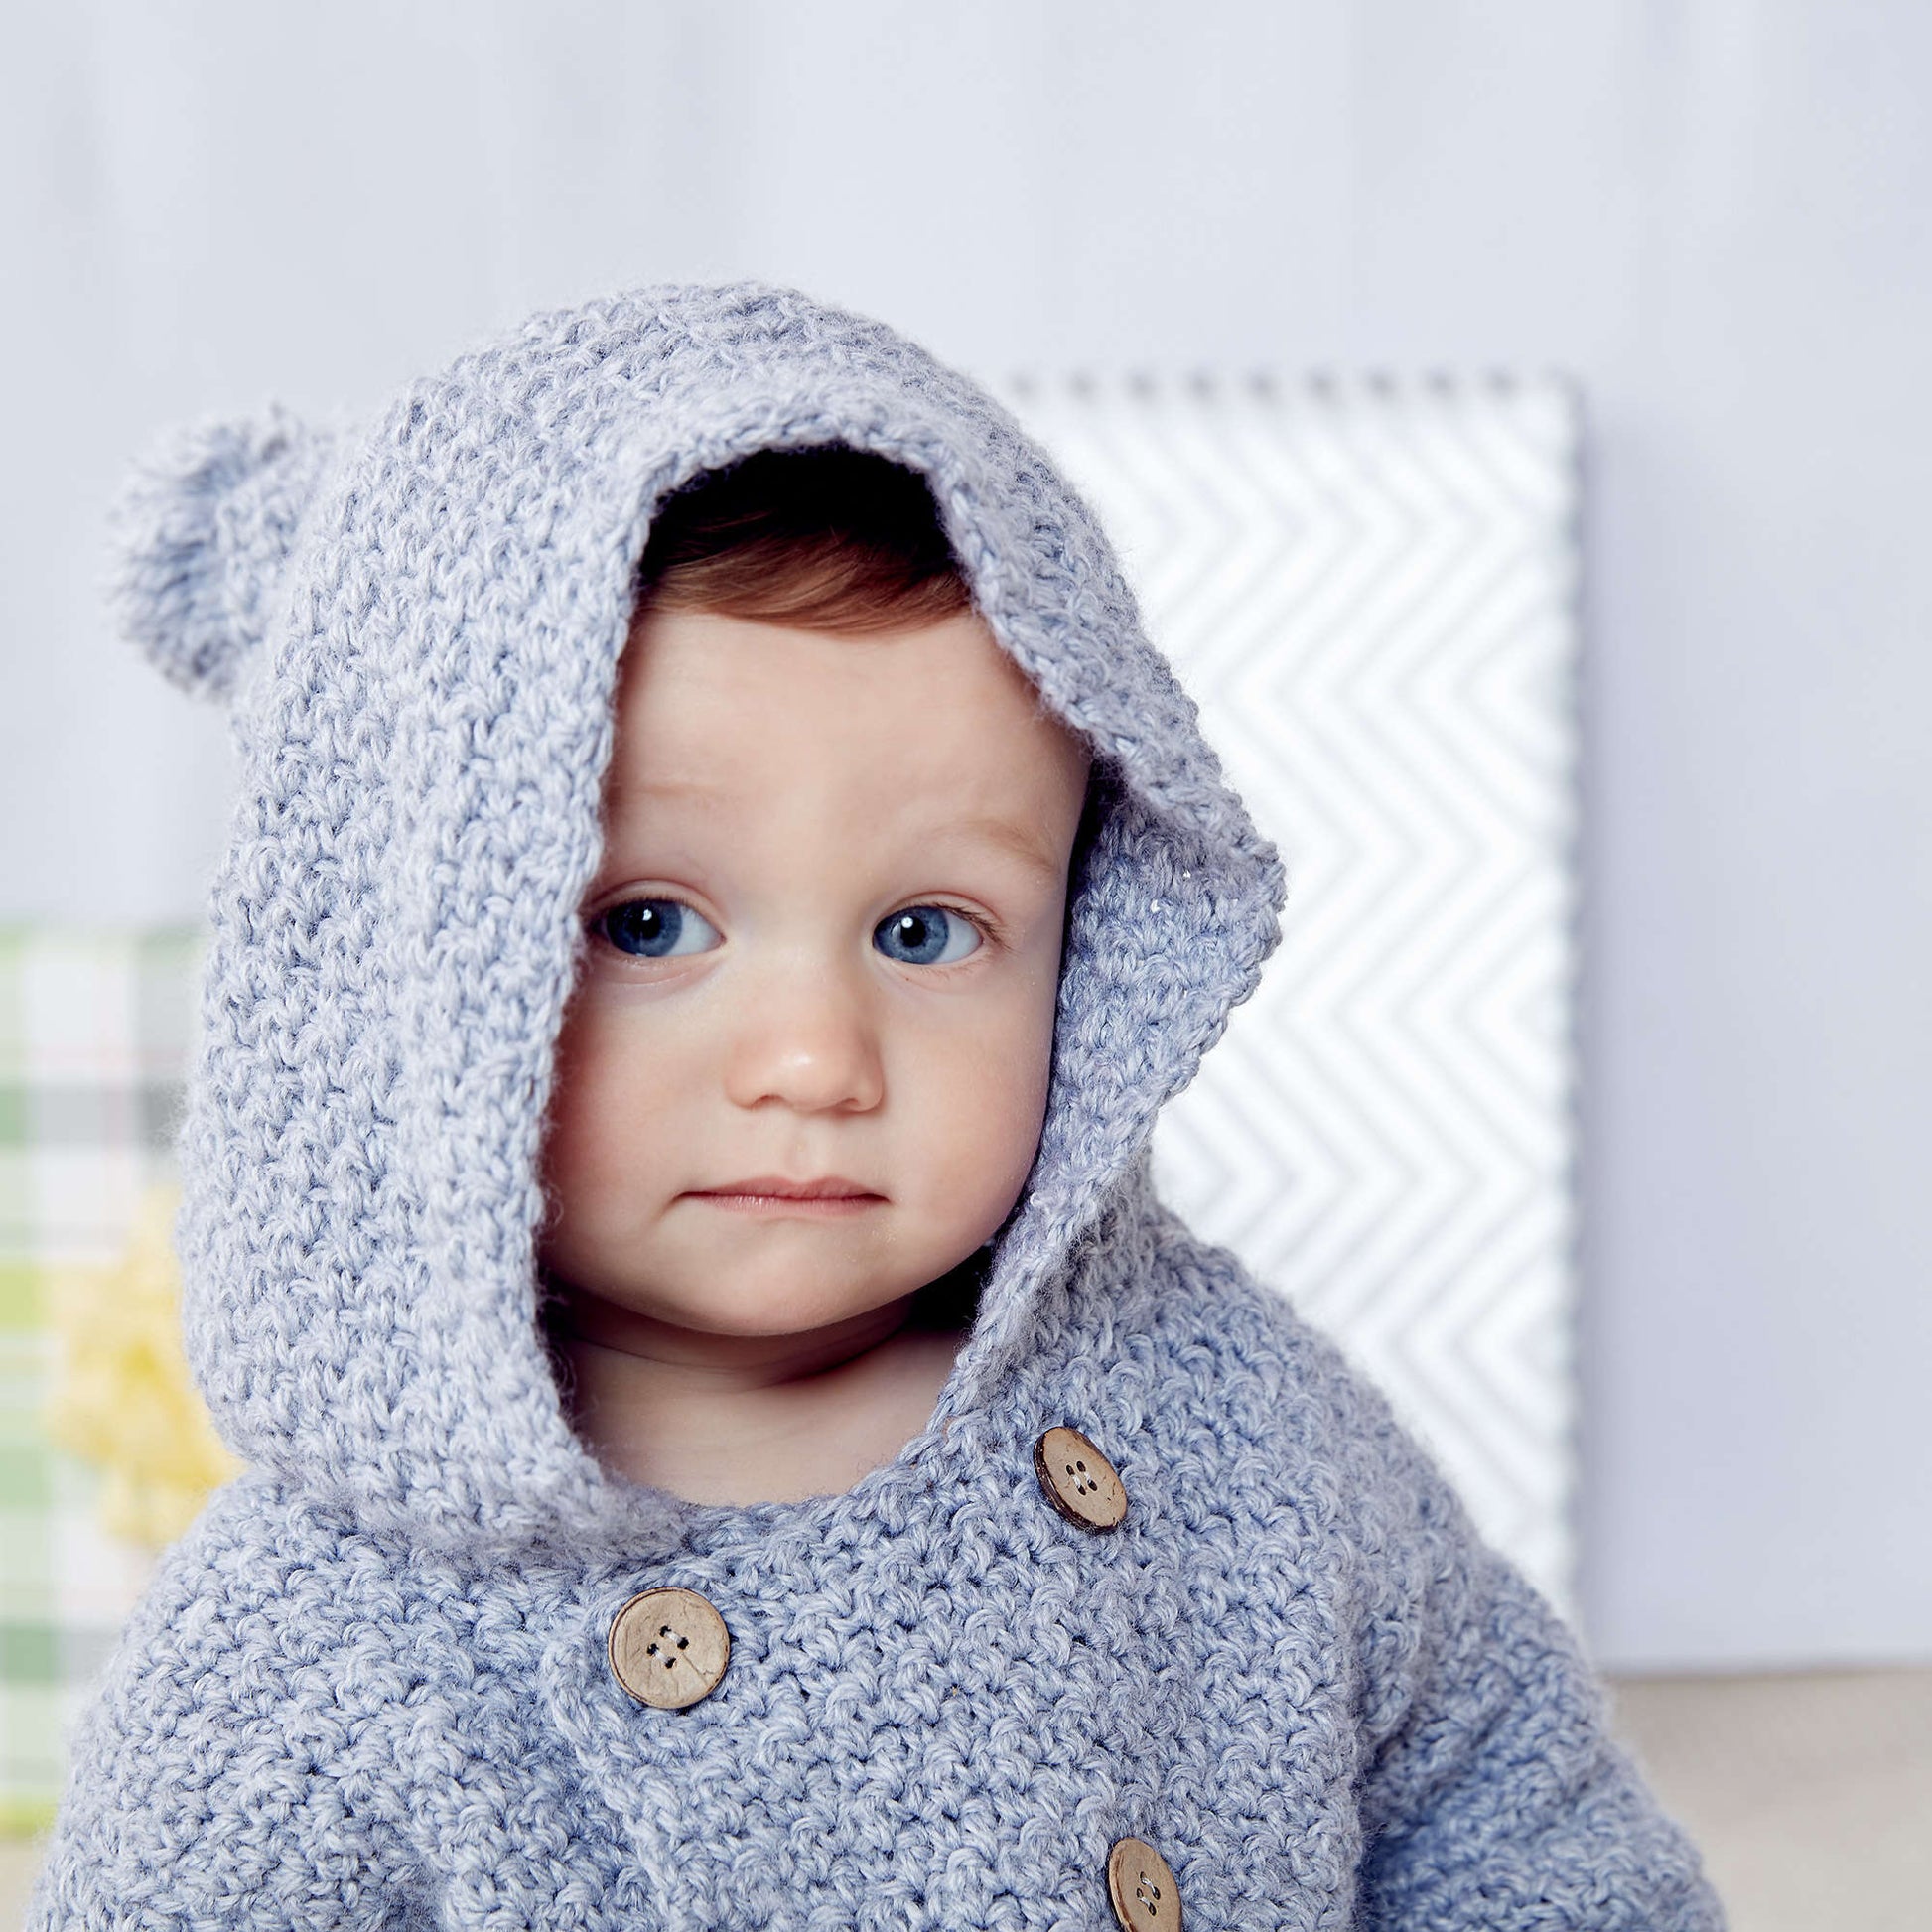
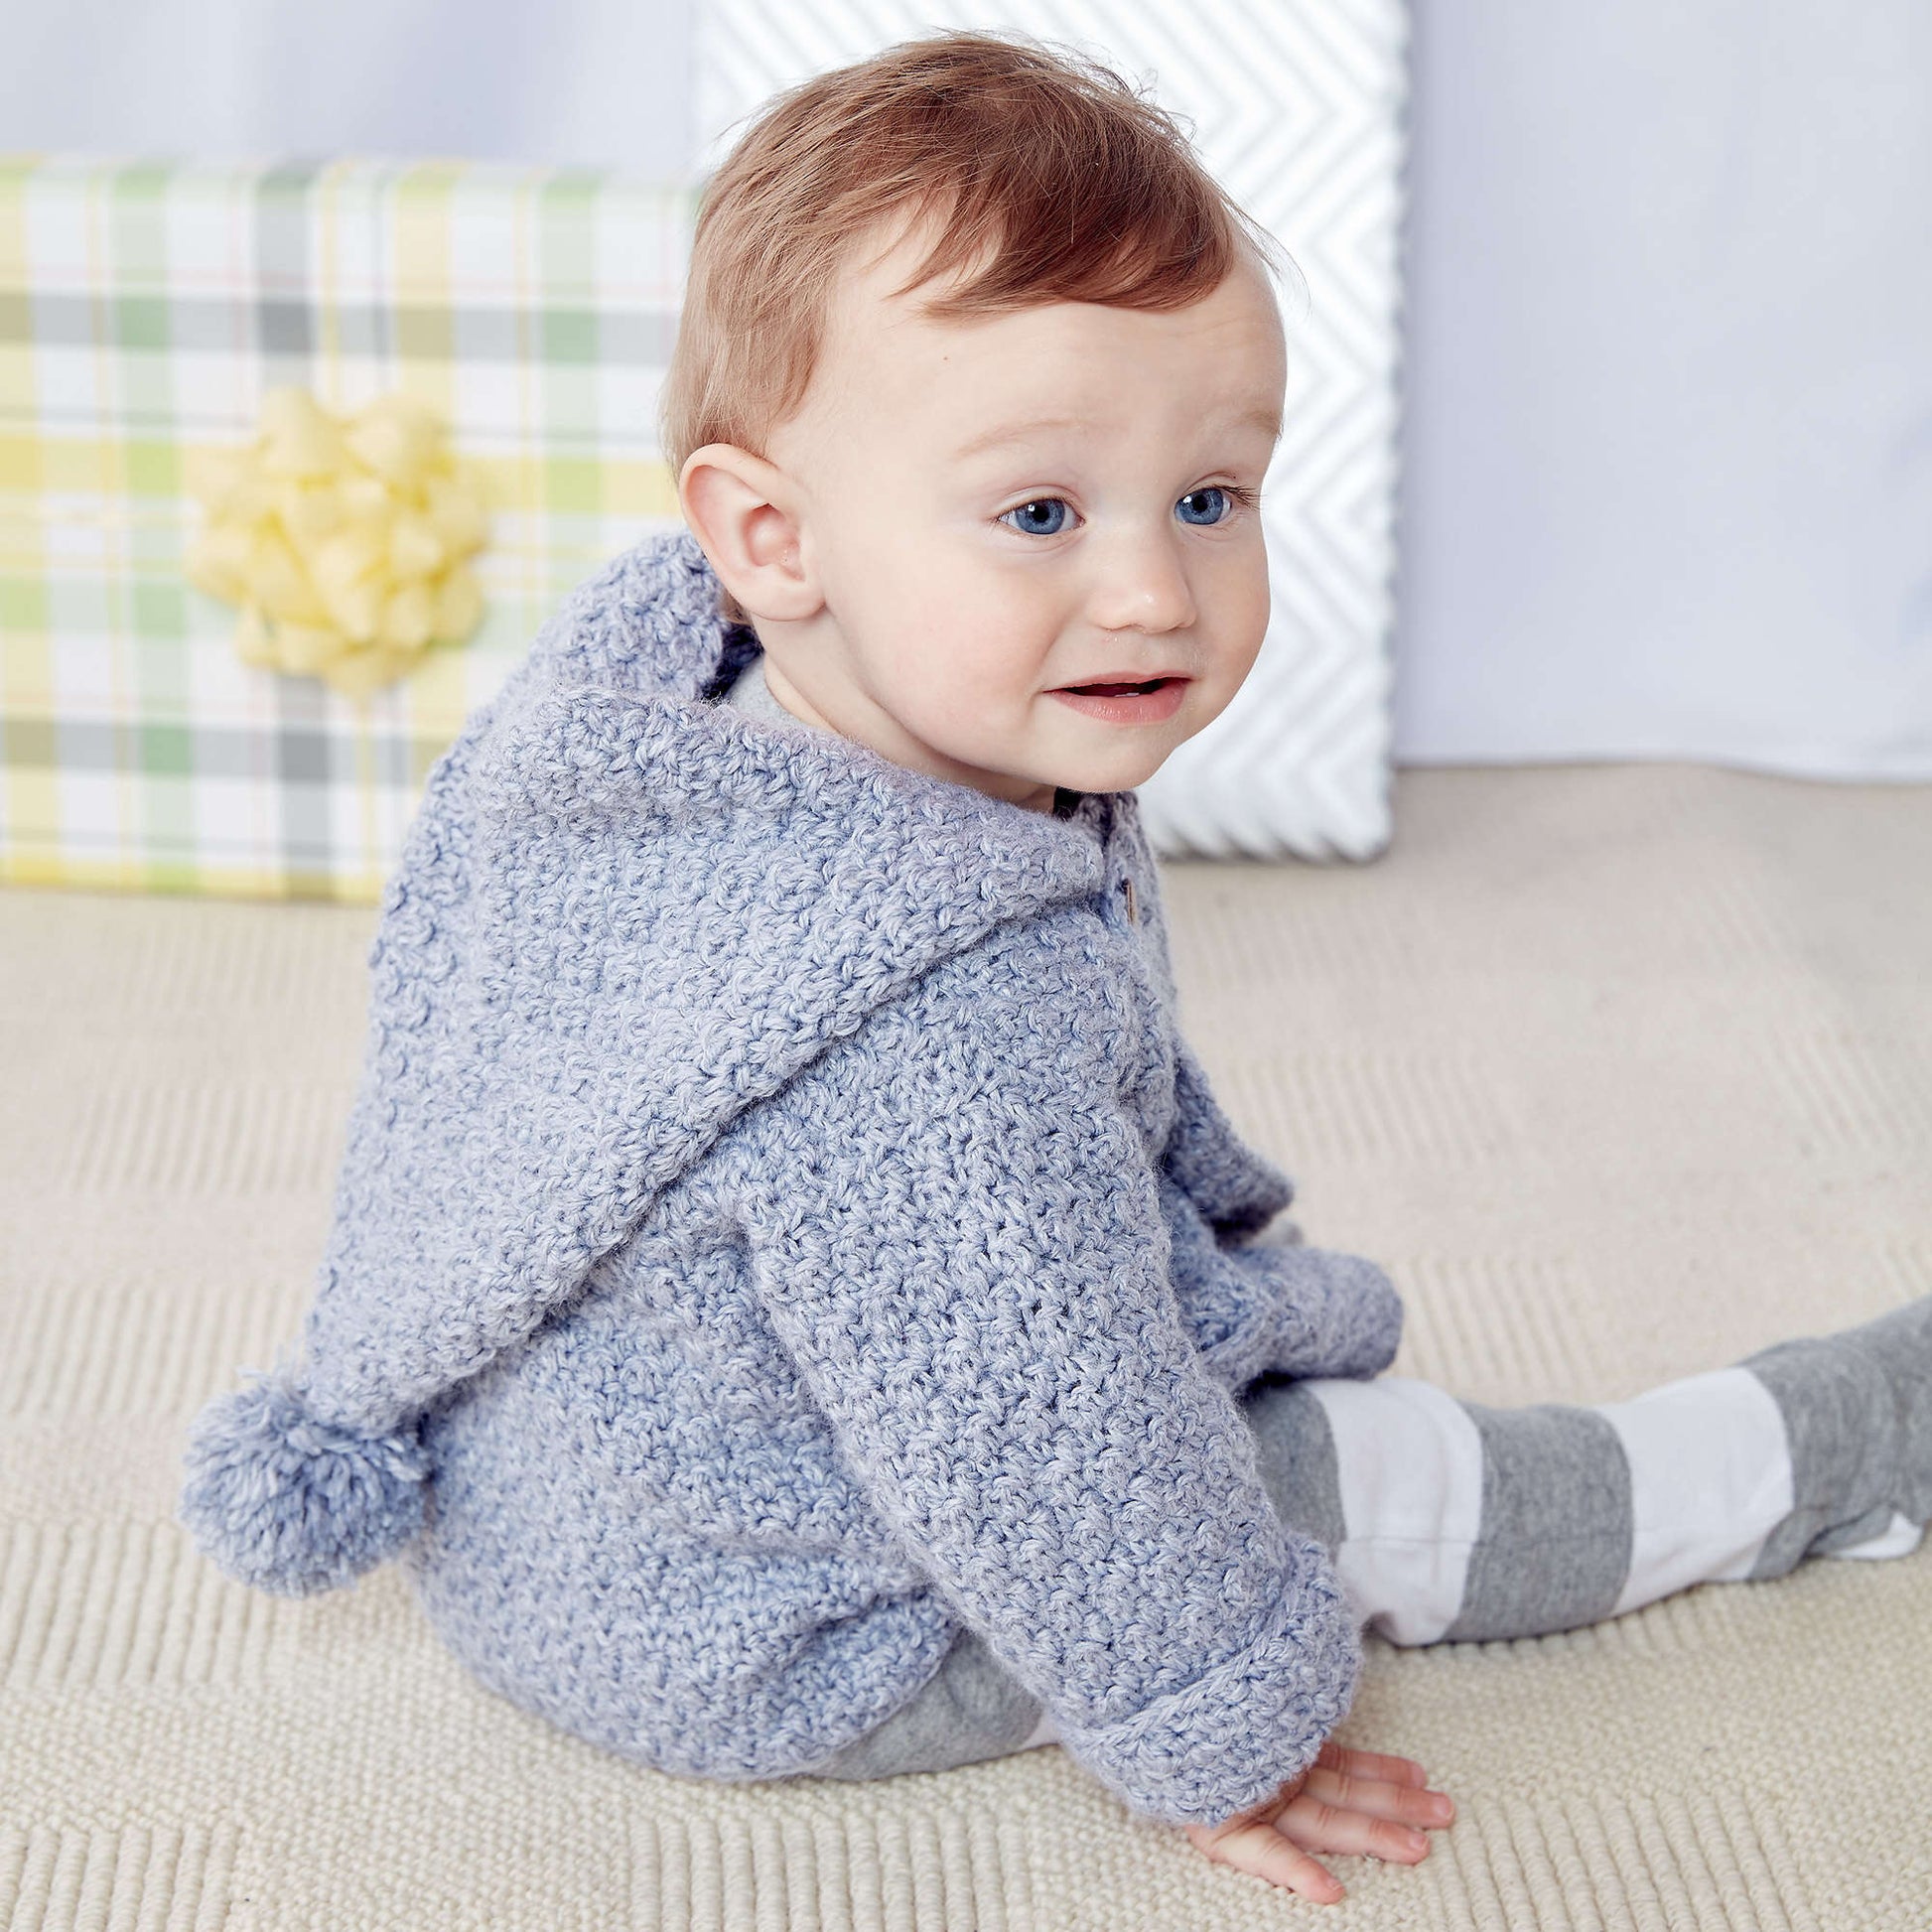
Crochet a double-breasted hoodie in Bernat Softee Baby.
View full details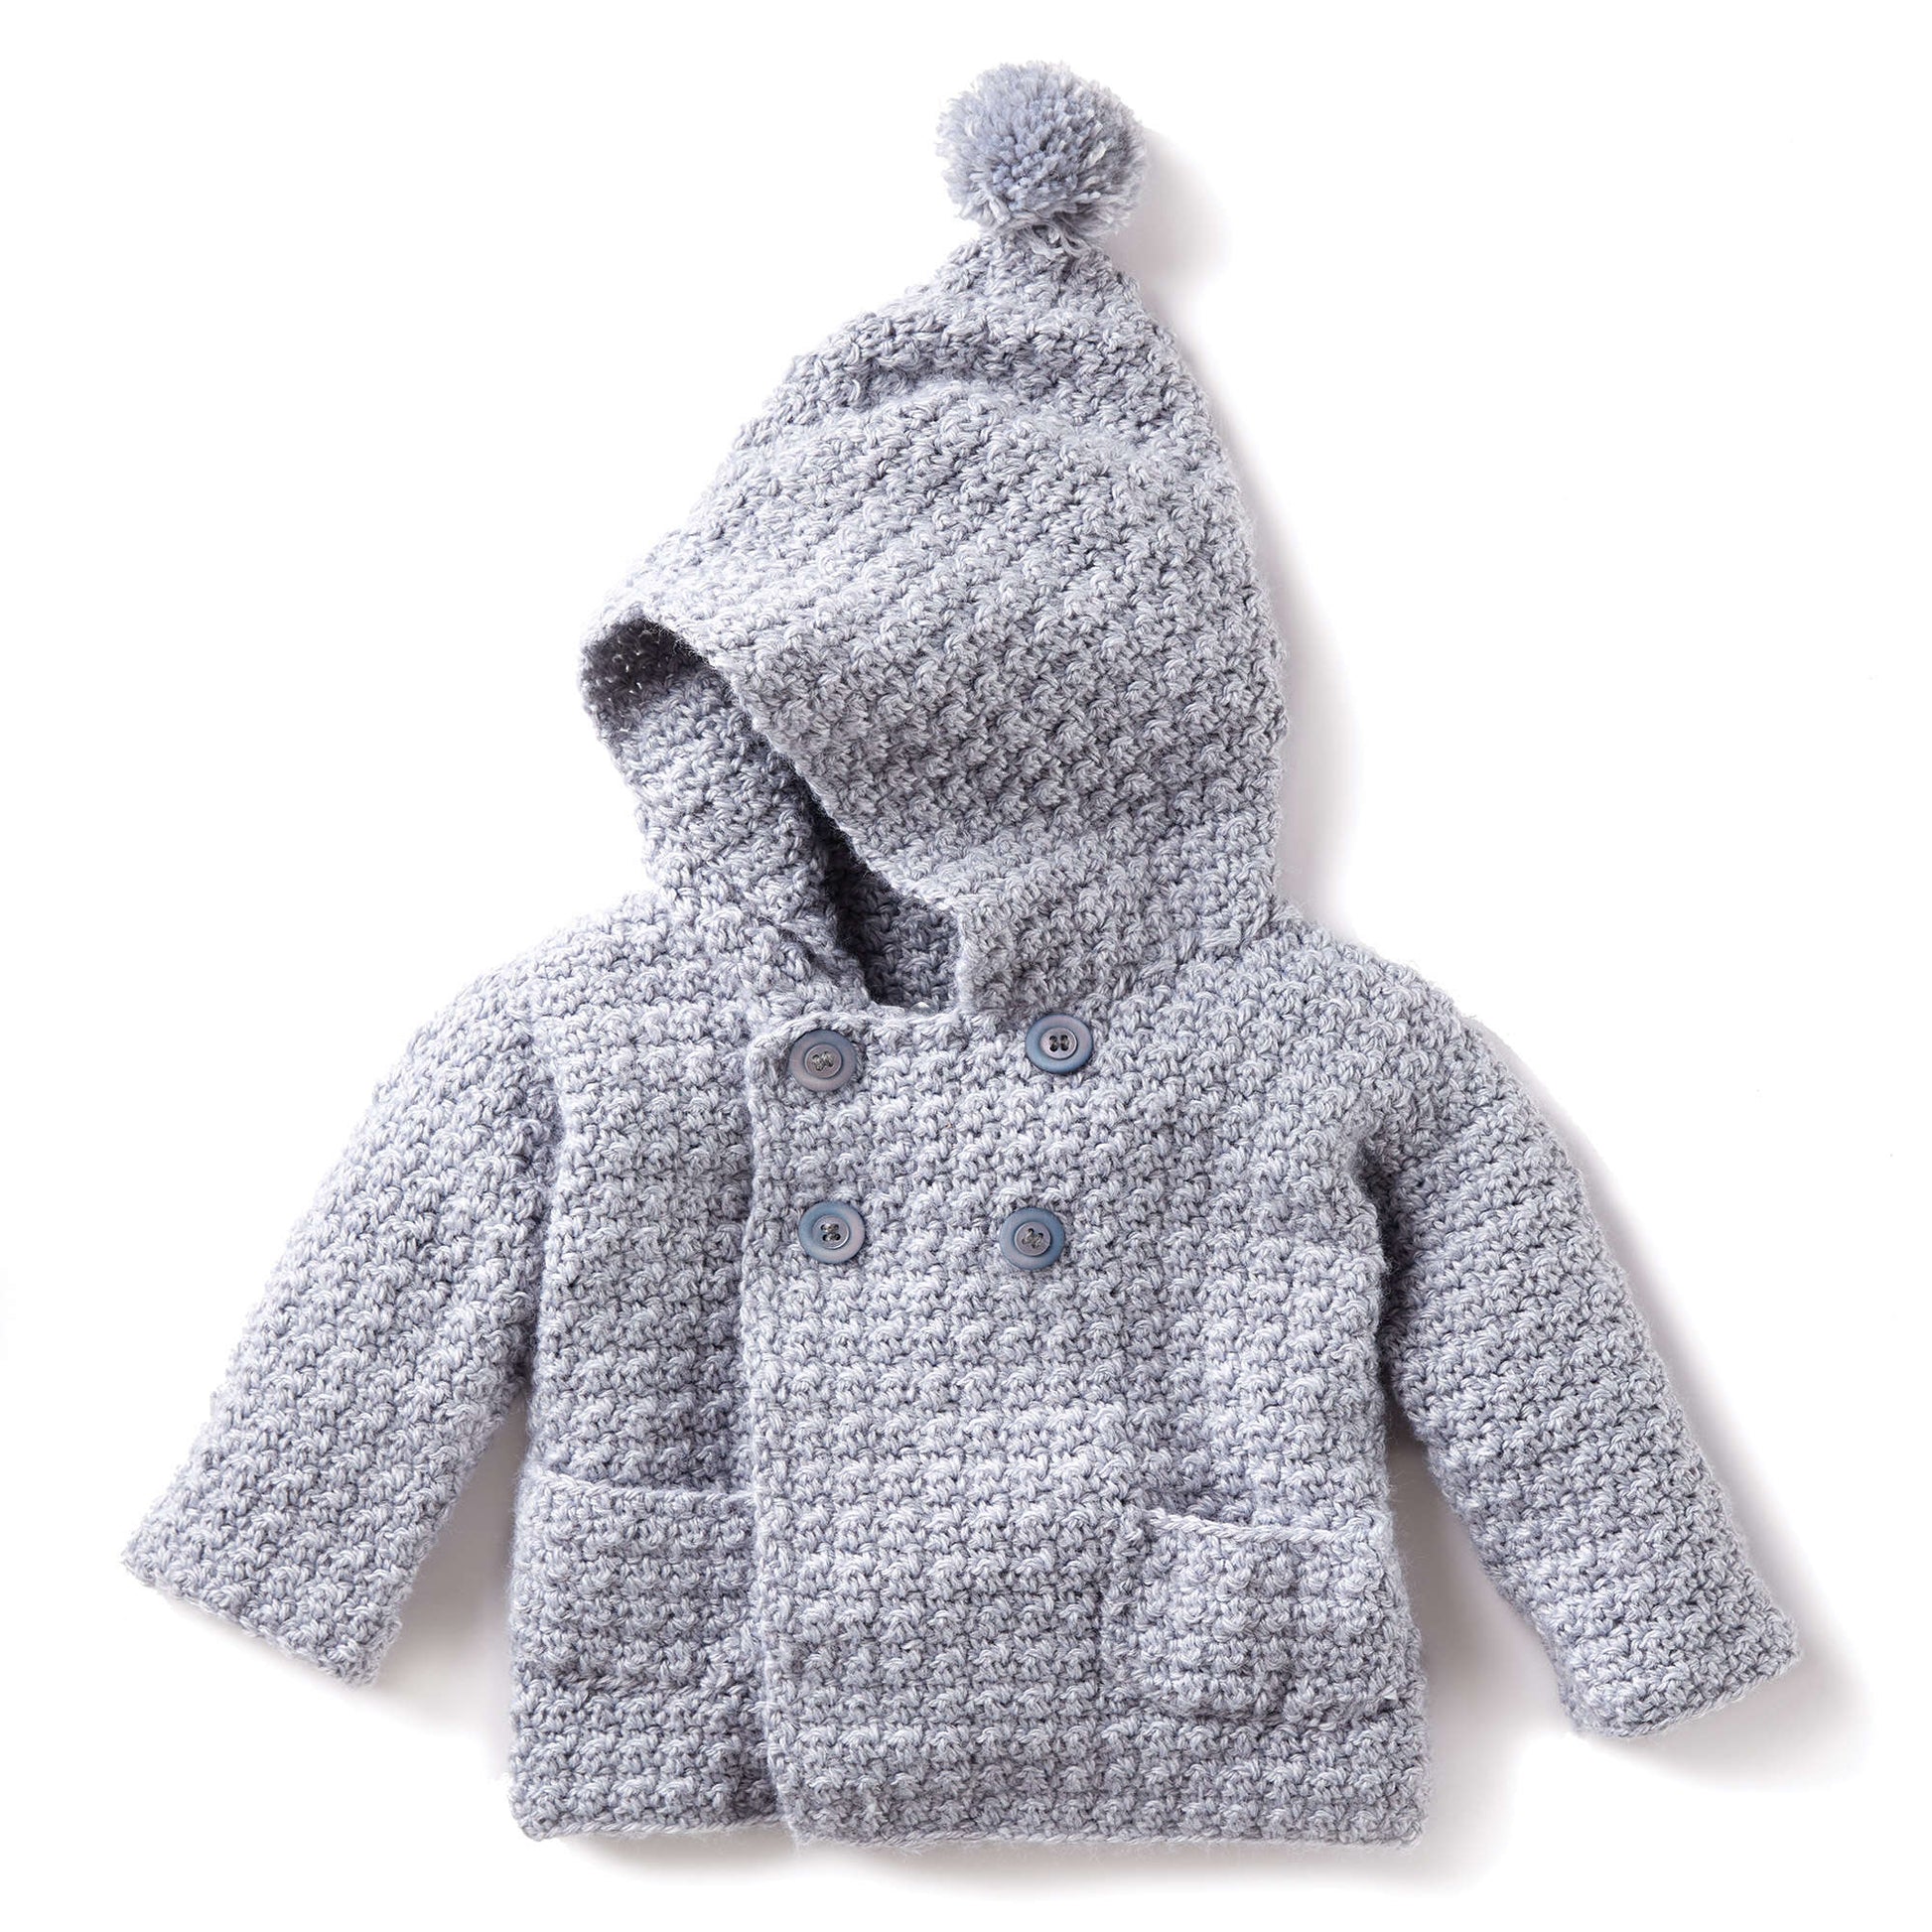


Free Bernat Cozy Crochet Hoodie Pattern, 3 yrs
Item# BRC0229-002012V
Crochet a double-breasted hoodie in Bernat Softee Baby.
customize your pattern kit

Out of Stock
Hurry, only out-of-market left!
In stock
Out of Stock
Hurry, only out-of-market left!
In stock
-
Description
Free Easy Crochet Sweater/Cardigan Pattern for Babies
This double-breasted hoodie is topped with a sweet pom pom and is available in a range of sizes, so let's begin. Choose colors from Bernat Softee Baby, which is OEKO-TEX Standard 100 certified, so it's always safe to use. It makes a sweet gift for any little one you love.
-
Sizing Notes
Sizing Notes
Making the right size is important! To make sure your project turns out the size described, always make a gauge swatch to match your tension. First time swatching? Learn more about crocheting a gauge swatch!
Finished Measurements
To fit chest measurement:6 mos 17" [43 cm ]12 mos 18" [45.5 cm]18 mos 19" [48.5 cm]24 mos 20" [51 cm]Finished chest:6 mos 20" [51 cm]12 mos 21" [53 cm]18 mos 22" [56 cm]24 mos 23" [58.5 cm] -
Care
- Do Not Bleach
- Do Not Dry Clean
- Do Not Iron
- Machine Wash in Cool Water, Delicate Setting
- Tumble Dry, Low Heat, Delicate Cycle
-
Reviews & Ratings
Reviews
-
Questions & Answers
Questions
Start typing your question and we'll check if it was already asked and answered.1 - 6 of 6 QuestionsQ: To make the left front, does it start the same as the right? And would you end on a RS row before starting to shape the arm hole? The instructions jump right to the button hole rows and I want to make sure I have it correct before reaching that point.
9 months ago1 AnswerA: The Left Front of the Cozy Crochet Baby Hoodie begins as the Right Front did. “Work from ** to ** as given for Right Front.” The buttonhole information is a note at the beginning of the left front so you don’t miss it and fail to place the buttonholes. Happy crocheting!
9 months agoHelpful?Q: In the pattern for the right front neck hole it says to skip the first 14 stitches but I'm not left with a weird hole in the front panel and can't figure out how to attach said panel to the back panel
10 months ago1 AnswerA: At the end of the Shape Armhole section, the instructions say to fasten off. Have you fastened off? the Shape next section starts with attaching the yarn again so you should not have a hole. If this is not the issue you are trying to explain with your Cozy Crochet Hoodie, please write back inquire@yarnspirations.com with more details. A good photo might prove helpful as well. Happy stitching!
10 months agoHelpful?Q: Hey so in the shaping the arm holes part in the back, what pattern do i follow right after the three sl st, 1ch, and 1sc in same sp. Do i follow the sc, dc; dc,sc or sometime else
11 months ago1 AnswerA: This section of the pattern depends upon you being able to read your stitches and recognizing the difference between the sc and dc in each row below. After you do the row to shape the armhole for the back panel (Sl st across first 3 sts. Ch 1. 1 sc in same sp as last sl st. continue using sc, dc repeat, ensuring the sc are worked in dc and dc is worked into a sc to last 2 sts. Turn. Leave rem 2 sts unworked), continue repeating row 2 and 3 until the armhole measures the desired length, ending on the WS row.
11 months agoHelpful?Q: Please explain better how to shape sleeves and increase?
a day ago0 AnswersQ: What does shape sides mean? Is this to join the back with the front pieces?
a day ago0 AnswersQ: I’m not understanding the arm holes. Please help. Beginner making it for my grand daughter.
4 months ago0 Answers