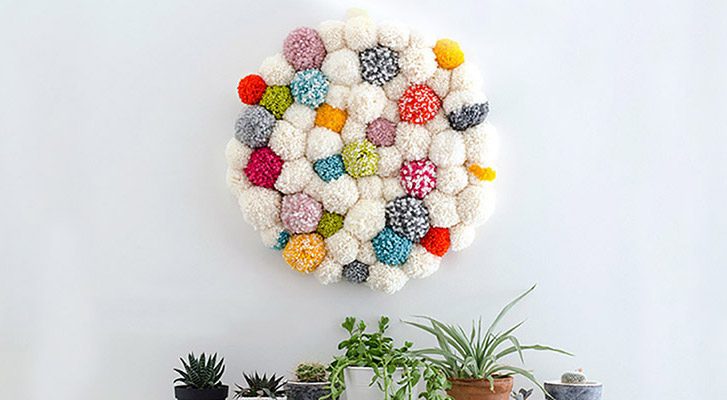
Over the past year or so I’ve become more and more enamored with woven and yarn art, wall hangings. It started for me on Pinterest (duh) where I was exposed to amazing weaving artists like, Maryanne Moodie. Then, posts on style sites like, Apartment Therapy and A Beautiful Mess respectively featured woven pieces as modern wall art. I love the pop of color they add to a room, and as a knitwear designer and yarn company spokesperson it seemed like a no-brainer that I neeeeeded something of this ilk on my own wall. The challenge for me, however (and I’m guessing I’m not alone here) is that investing the money, space and time it would take to get a large enough loom to make the statement piece I wanted just wasn’t realistic. I needed something relatively affordable. I needed something that could (at least in part) be done on-the-go. I needed something that could be made over a long weekend or several evenings. Enter Weaving Sticks.
I’d seen my friends at Clover Needles demo-ing Weaving Sticks at various industry events. I was intrigued, but wasn’t sure what I’d use them for. Then it occurred to me that the fabric created by the thick sticks and a nice, bulky yarn would be perfect to quickly create the base tapestry for a wall hanging. I took to making strips (which conveniently stashed away in my purse for me to pull out on a plane or while watching my son’s football scrimmage), and was off towards D.I.Y.-wall-hanging nirvana! Once I had my base made, I got to play with some of my other, favorite yarns. The finished result (seen above) is now hanging in the front room of our house. It was easy, fun and feels like a modern nod towards our crafty foremothers who likely made similar pieces in the 70’s.
I hope this project makes a yarn wall hanging feel more accessible, and that you’ll make one for your own home (Psst…don’t want anything this big? A mini version would be cool, too!) Don’t forget to share finished project pictures with me, too on Instagram or Facebook— enjoy! –Vickie
MATERIALS
- 6 Balls, Patons Classic Wool Bulky (shown in: Aran)
- 1 Ball Patons Cobbles (shown in Tetra Teal)
- Assorted weights and colors, and textures of accent yarns
- Metallic embroidery thread
- 1 Set, Weaving Sticks (thick)
- Tapestry needle
- Crochet hook
- Straight edge or ruler
- 36″/91.5 cm Dowel (Optional: painted with Gold Leaf stripes)
FINISHED MEASUREMENTS
20 1/2″/52 cm x approx 60″/152 cm (including fringe)
HOW-TO
Making Base Piece:
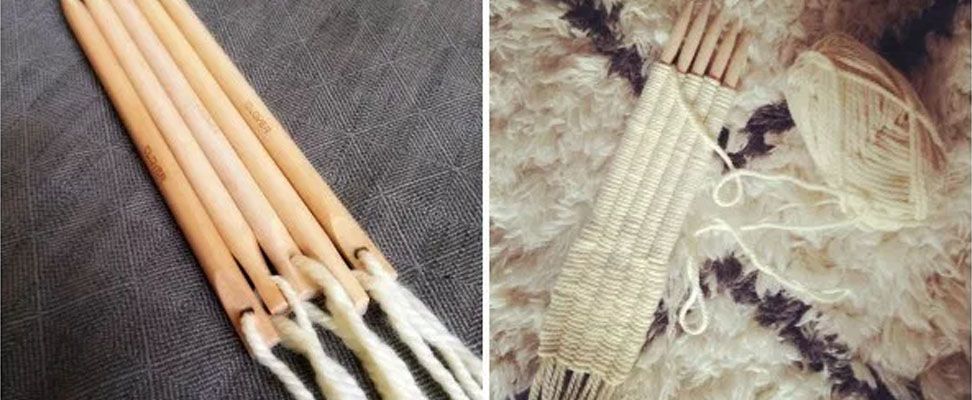
1. Using Classic Wool Bulky yarn, Weaving Sticks and following the manufacturer instructions on the package (Clover also has a YouTube video tutorial), make six, 28″/71 cm strips.

2. Lay strips out on flat surface; use tapestry needle and yarn to sew pieces together by coming up through 2-4 loops on one strip, then zig-zag over to the next to do the same. Repeat until all strips are attached to create larger, base piece.
Adding Short Fringe:
3. Now that you’ve got your background piece finished, it’s time to add some color! Decide what shade groupings you’d like, then cut several, 11-13″/28-33 cm pieces in each color.
4. Measure about 8″/20.5 cm down from the top edge, and two columns (the weaving sticks create easily identifiable columns of loops, so let them be your guide) in from the right-hand side.
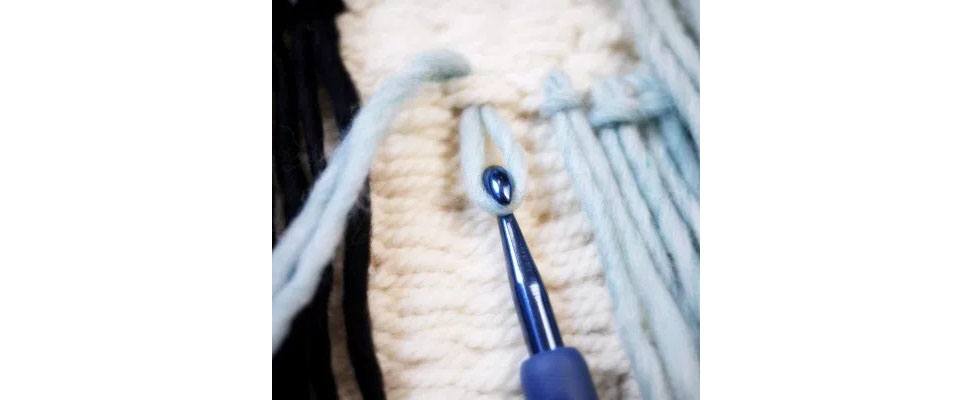
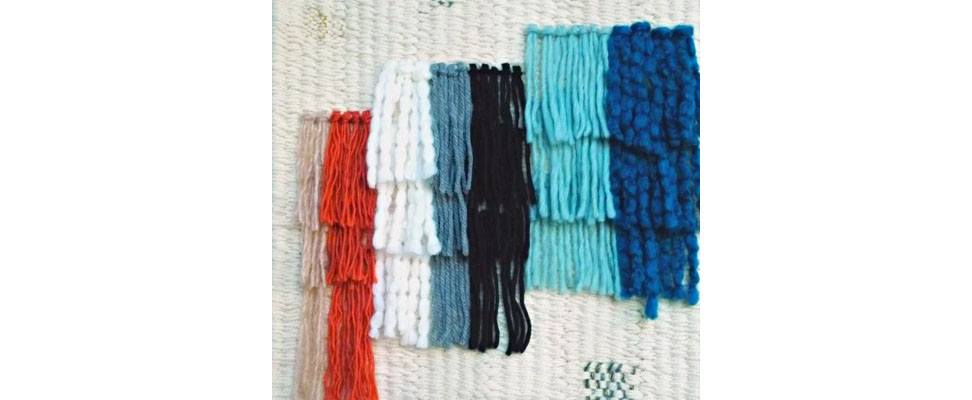
5. Fold first piece of yarn in half over your crochet hook and pull a bit of it through 2 loops in the next column of woven base; feed tails through and pull snugly to secure fringe piece. Repeat process with same color yarn for 3-5 pieces more. Repeat process with next color in same palette grouping (shown in teals.)
6. Skip over a column. To create stair-step effect, measure 2-3″/5-7.5 cm down from where last fringe piece was attached; attach next color grouping (shown in neutrals.)
7. Repeat last step for final color grouping (shown in oranges.) Note: for thinner yarns, consider using multiple strands per fringe bit.
Embroidered Weaving:
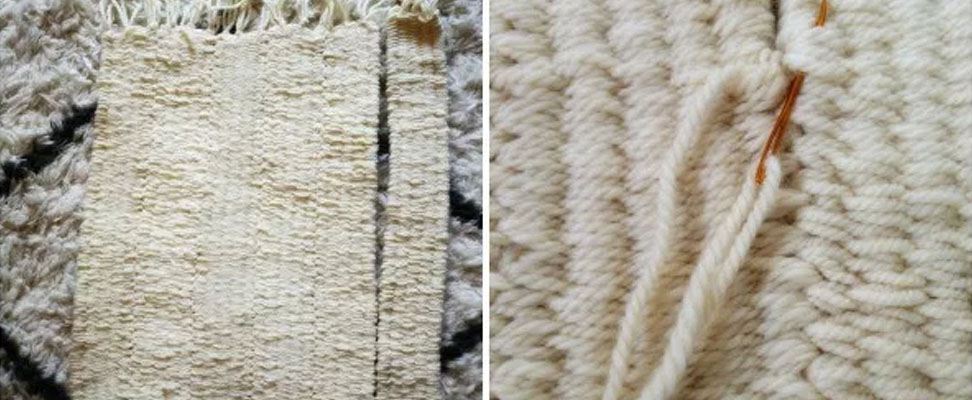
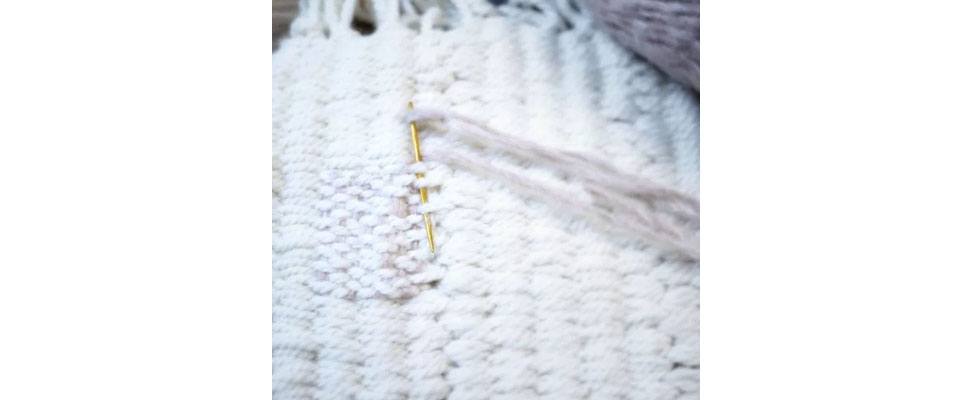
8. Using a tapestry needle and textured yarn — I found that something like Patons Misty, with a mohair halo complimented the piece nicely — create a triangle of embroidered weaving buy going over and under the strands alternatively each row, shortening the distance to create the triangle slope.
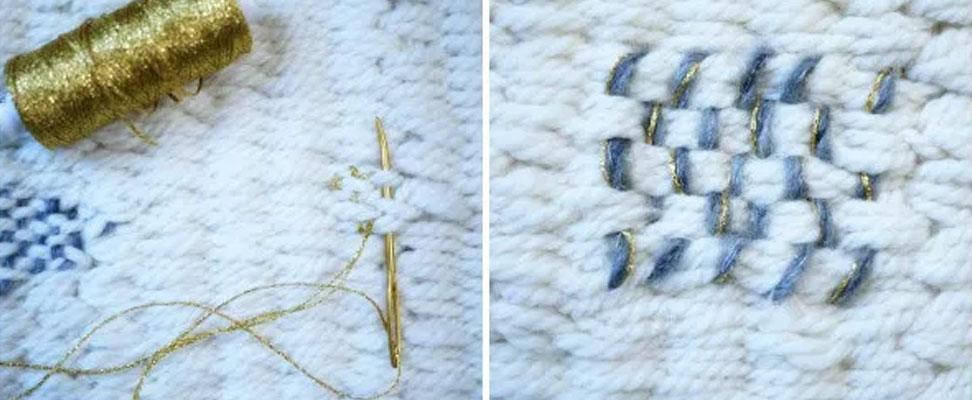
9. Repeat the embroidery processes at desired places on your piece, changing up the colors here and there. I also included a touch of my mom’s, vintage gold thread to add a little sparkle against the neutral background. Any metallic embroidery thread or yarn will work, though!
Adding Long Fringe:
10. Cut nineteen, 60″/152.5 pieces of Patons Cobbles yarn.
11. Using same method as for short fringe, attach pieces evenly across bottom edge of base piece.
12. Using a straight edge as a guide, trim long fringe into a point.
Attach Dowel:
13. Using base yarn and tapestry needle, whip stitch piece to dowel.
14. Using crochet needle, pull top fringe left over from weaving stitch strips through to back of piece (leaving knots at front for added dimension.)
15. Tie yarn to both sides of dowel and knot at top to create hanger.
C’est fini! Hang your yarnsterpiece up and revel in your wall art talents!
xx,
Vickie
FINISHED MEASUREMENTS
20 1/2″/52 cm x approx 60″/152 cm (including fringe)
HOW-TO
Making Base Piece:
1. Using Classic Wool Bulky yarn, Weaving Sticks and following the manufacturer instructions on the package (Clover also has a YouTube video tutorial), make six, 28″/71 cm strips.

2. Lay strips out on flat surface; use tapestry needle and yarn to sew pieces together by coming up through 2-4 loops on one strip, then zig-zag over to the next to do the same. Repeat until all strips are attached to create larger, base piece.

Adding Short Fringe:
3. Now that you’ve got your background piece finished, it’s time to add some color! Decide what shade groupings you’d like, then cut several, 11-13″/28-33 cm pieces in each color.
4. Measure about 8″/20.5 cm down from the top edge, and two columns (the weaving sticks create easily identifiable columns of loops, so let them be your guide) in from the right-hand side.
5. Fold first piece of yarn in half over your crochet hook and pull a bit of it through 2 loops in the next column of woven base; feed tails through and pull snugly to secure fringe piece. Repeat process with same color yarn for 3-5 pieces more. Repeat process with next color in same palette grouping (shown in teals.)
6. Skip over a column. To create stair-step effect, measure 2-3″/5-7.5 cm down from where last fringe piece was attached; attach next color grouping (shown in neutrals.)
7. Repeat last step for final color grouping (shown in oranges.) Note: for thinner yarns, consider using multiple strands per fringe bit.

Embroidered Weaving:
8. Using a tapestry needle and textured yarn — I found that something like Patons Misty, with a mohair halo complimented the piece nicely — create a triangle of embroidered weaving buy going over and under the strands alternatively each row, shortening the distance to create the triangle slope.

9. Repeat the embroidery processes at desired places on your piece, changing up the colors here and there. I also included a touch of my mom’s, vintage gold thread to add a little sparkle against the neutral background. Any metallic embroidery thread or yarn will work, though!

Adding Long Fringe:
10. Cut nineteen, 60″/152.5 pieces of Patons Cobbles yarn.
11. Using same method as for short fringe, attach pieces evenly across bottom edge of base piece.

12. Using a straight edge as a guide, trim long fringe into a point.

Attach Dowel:
13. Using base yarn and tapestry needle, whip stitch piece to dowel.
14. Using crochet needle, pull top fringe left over from weaving stitch strips through to back of piece (leaving knots at front for added dimension.)
15. Tie yarn to both sides of dowel and knot at top to create hanger.
C’est fini! Hang your yarnsterpiece up and revel in your wall art talents!
xx,
Vickie
