Free Bernat Knit Fairy Leaves Dress Pattern, 6 mos / Red
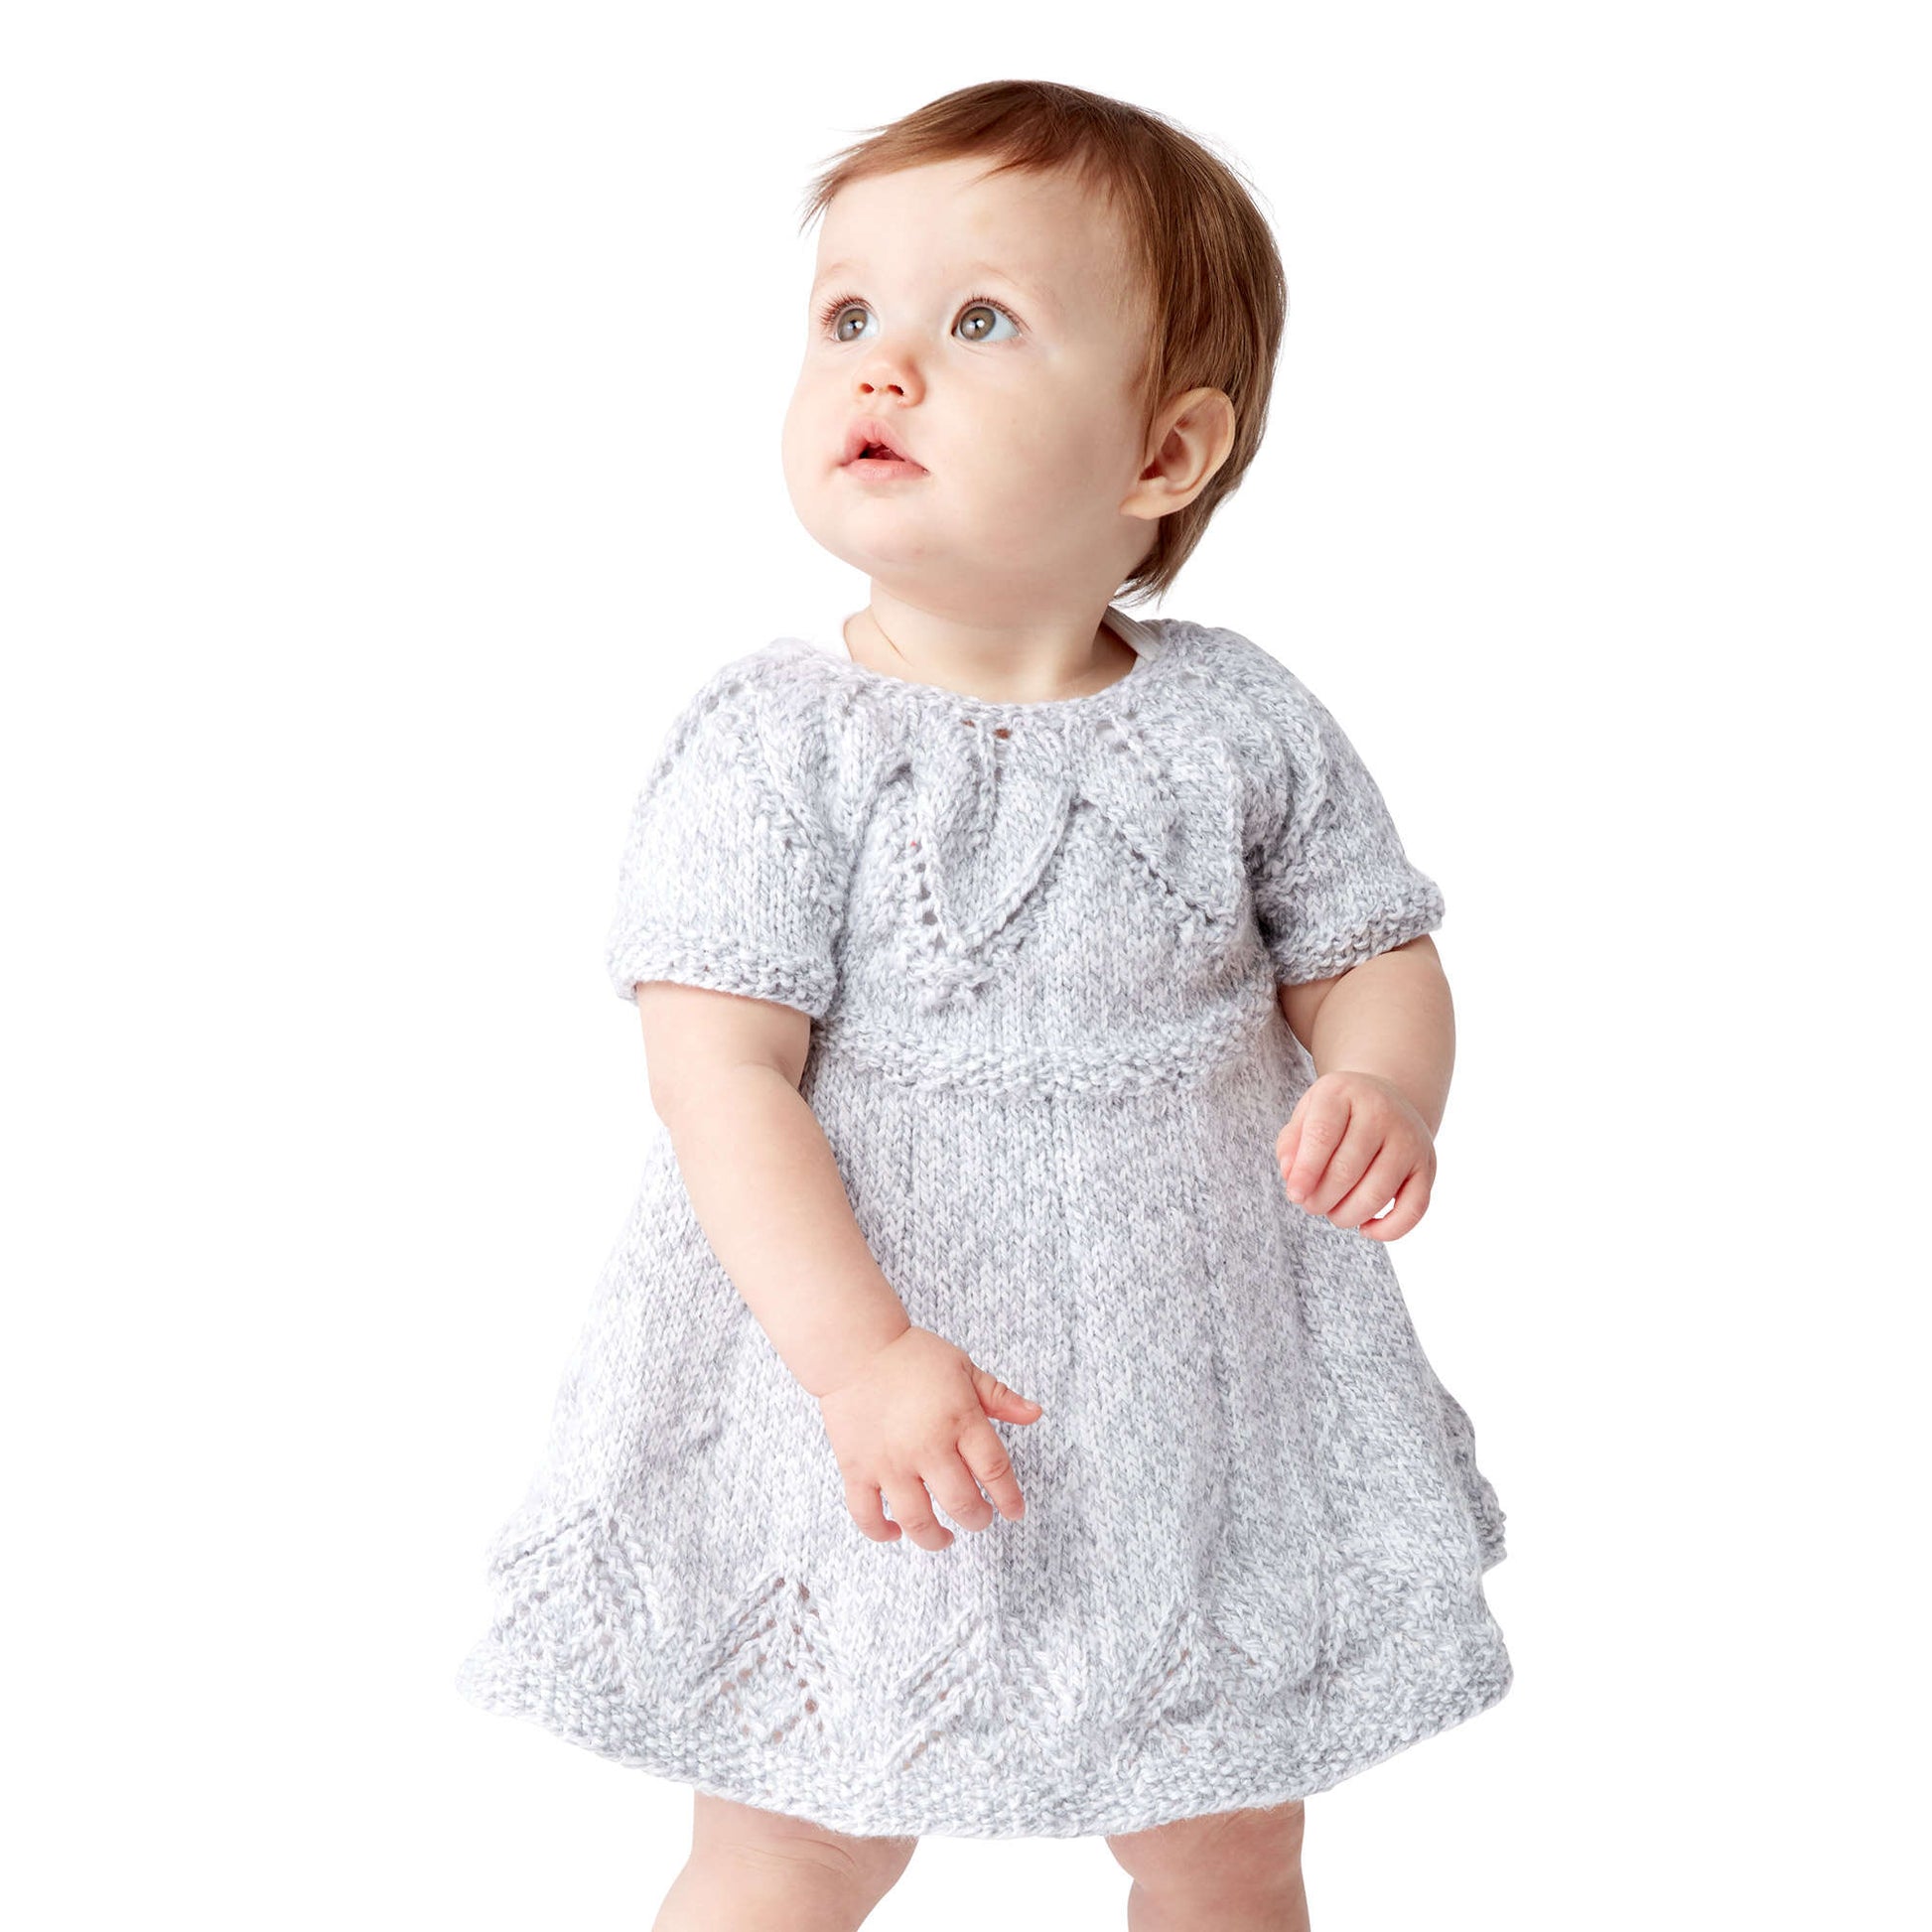
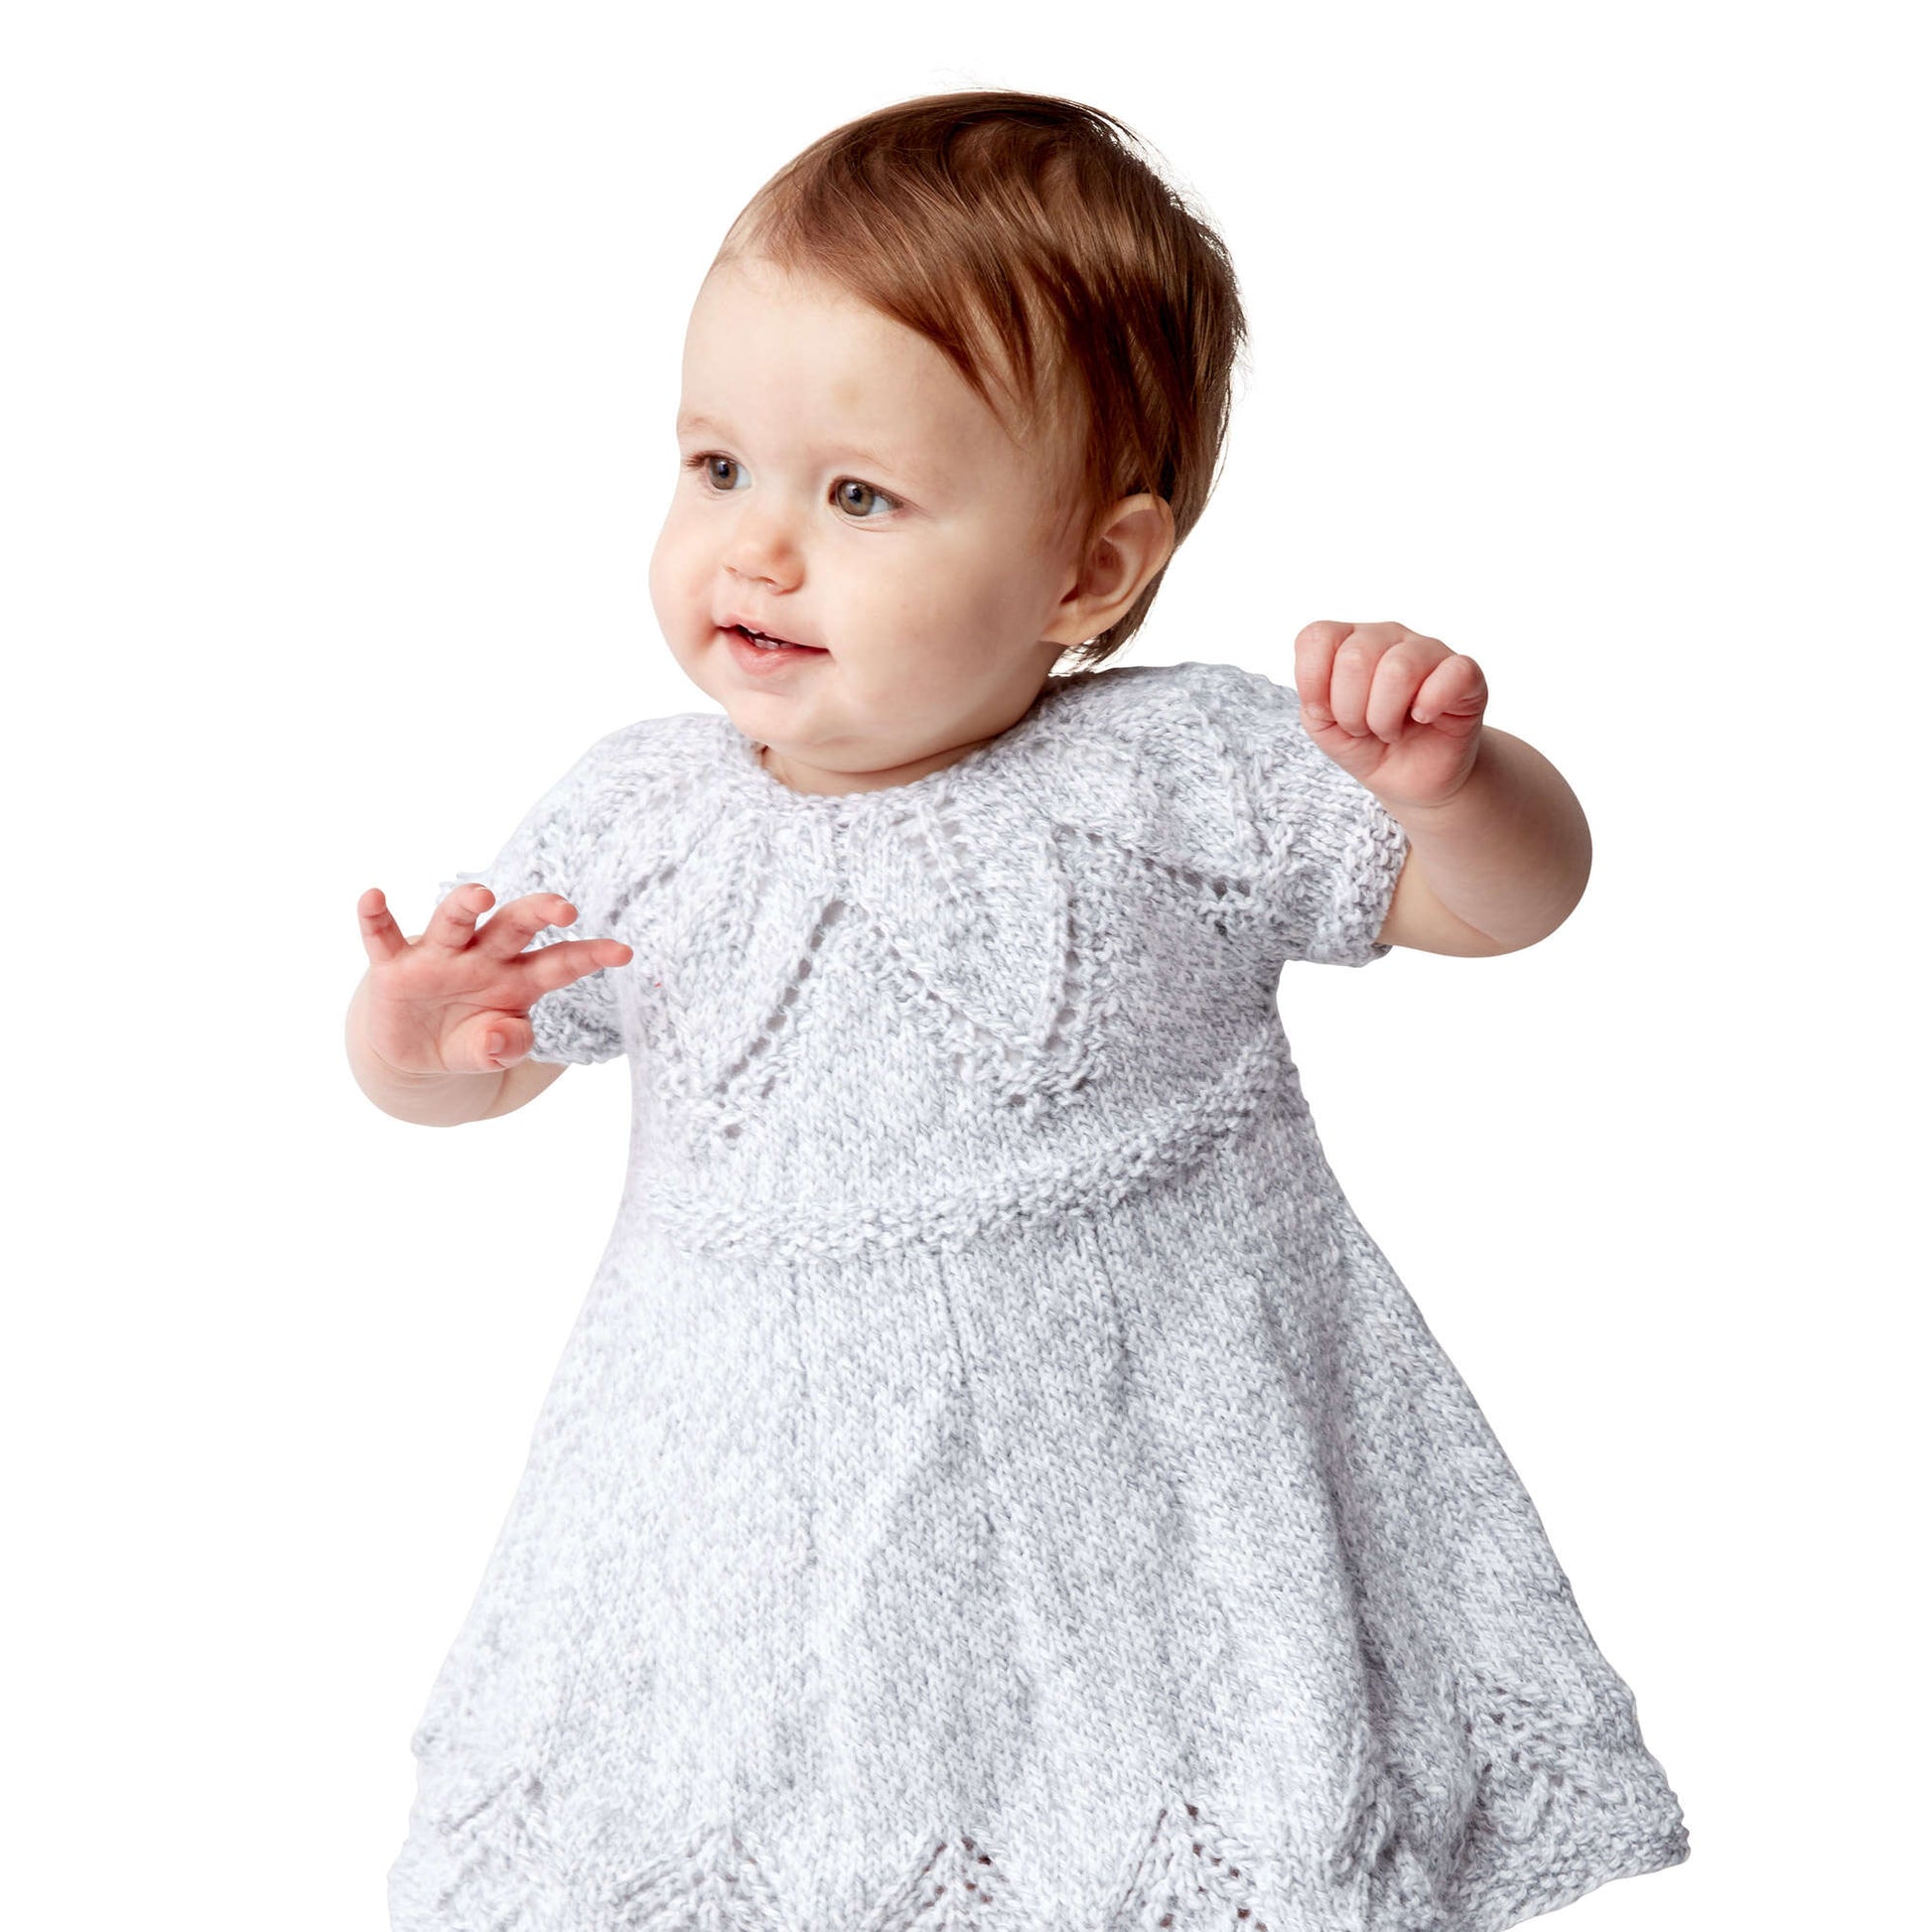
This cute dress features intricate lace work with a modern design.
Pattern Revised & Updated on 07-12-22


Free Bernat Knit Fairy Leaves Dress Pattern, 6 mos / Red
Item#
This cute dress features intricate lace work with a modern design.
Pattern Revised & Updated on 07-12-22
customize your pattern kit
-
Description
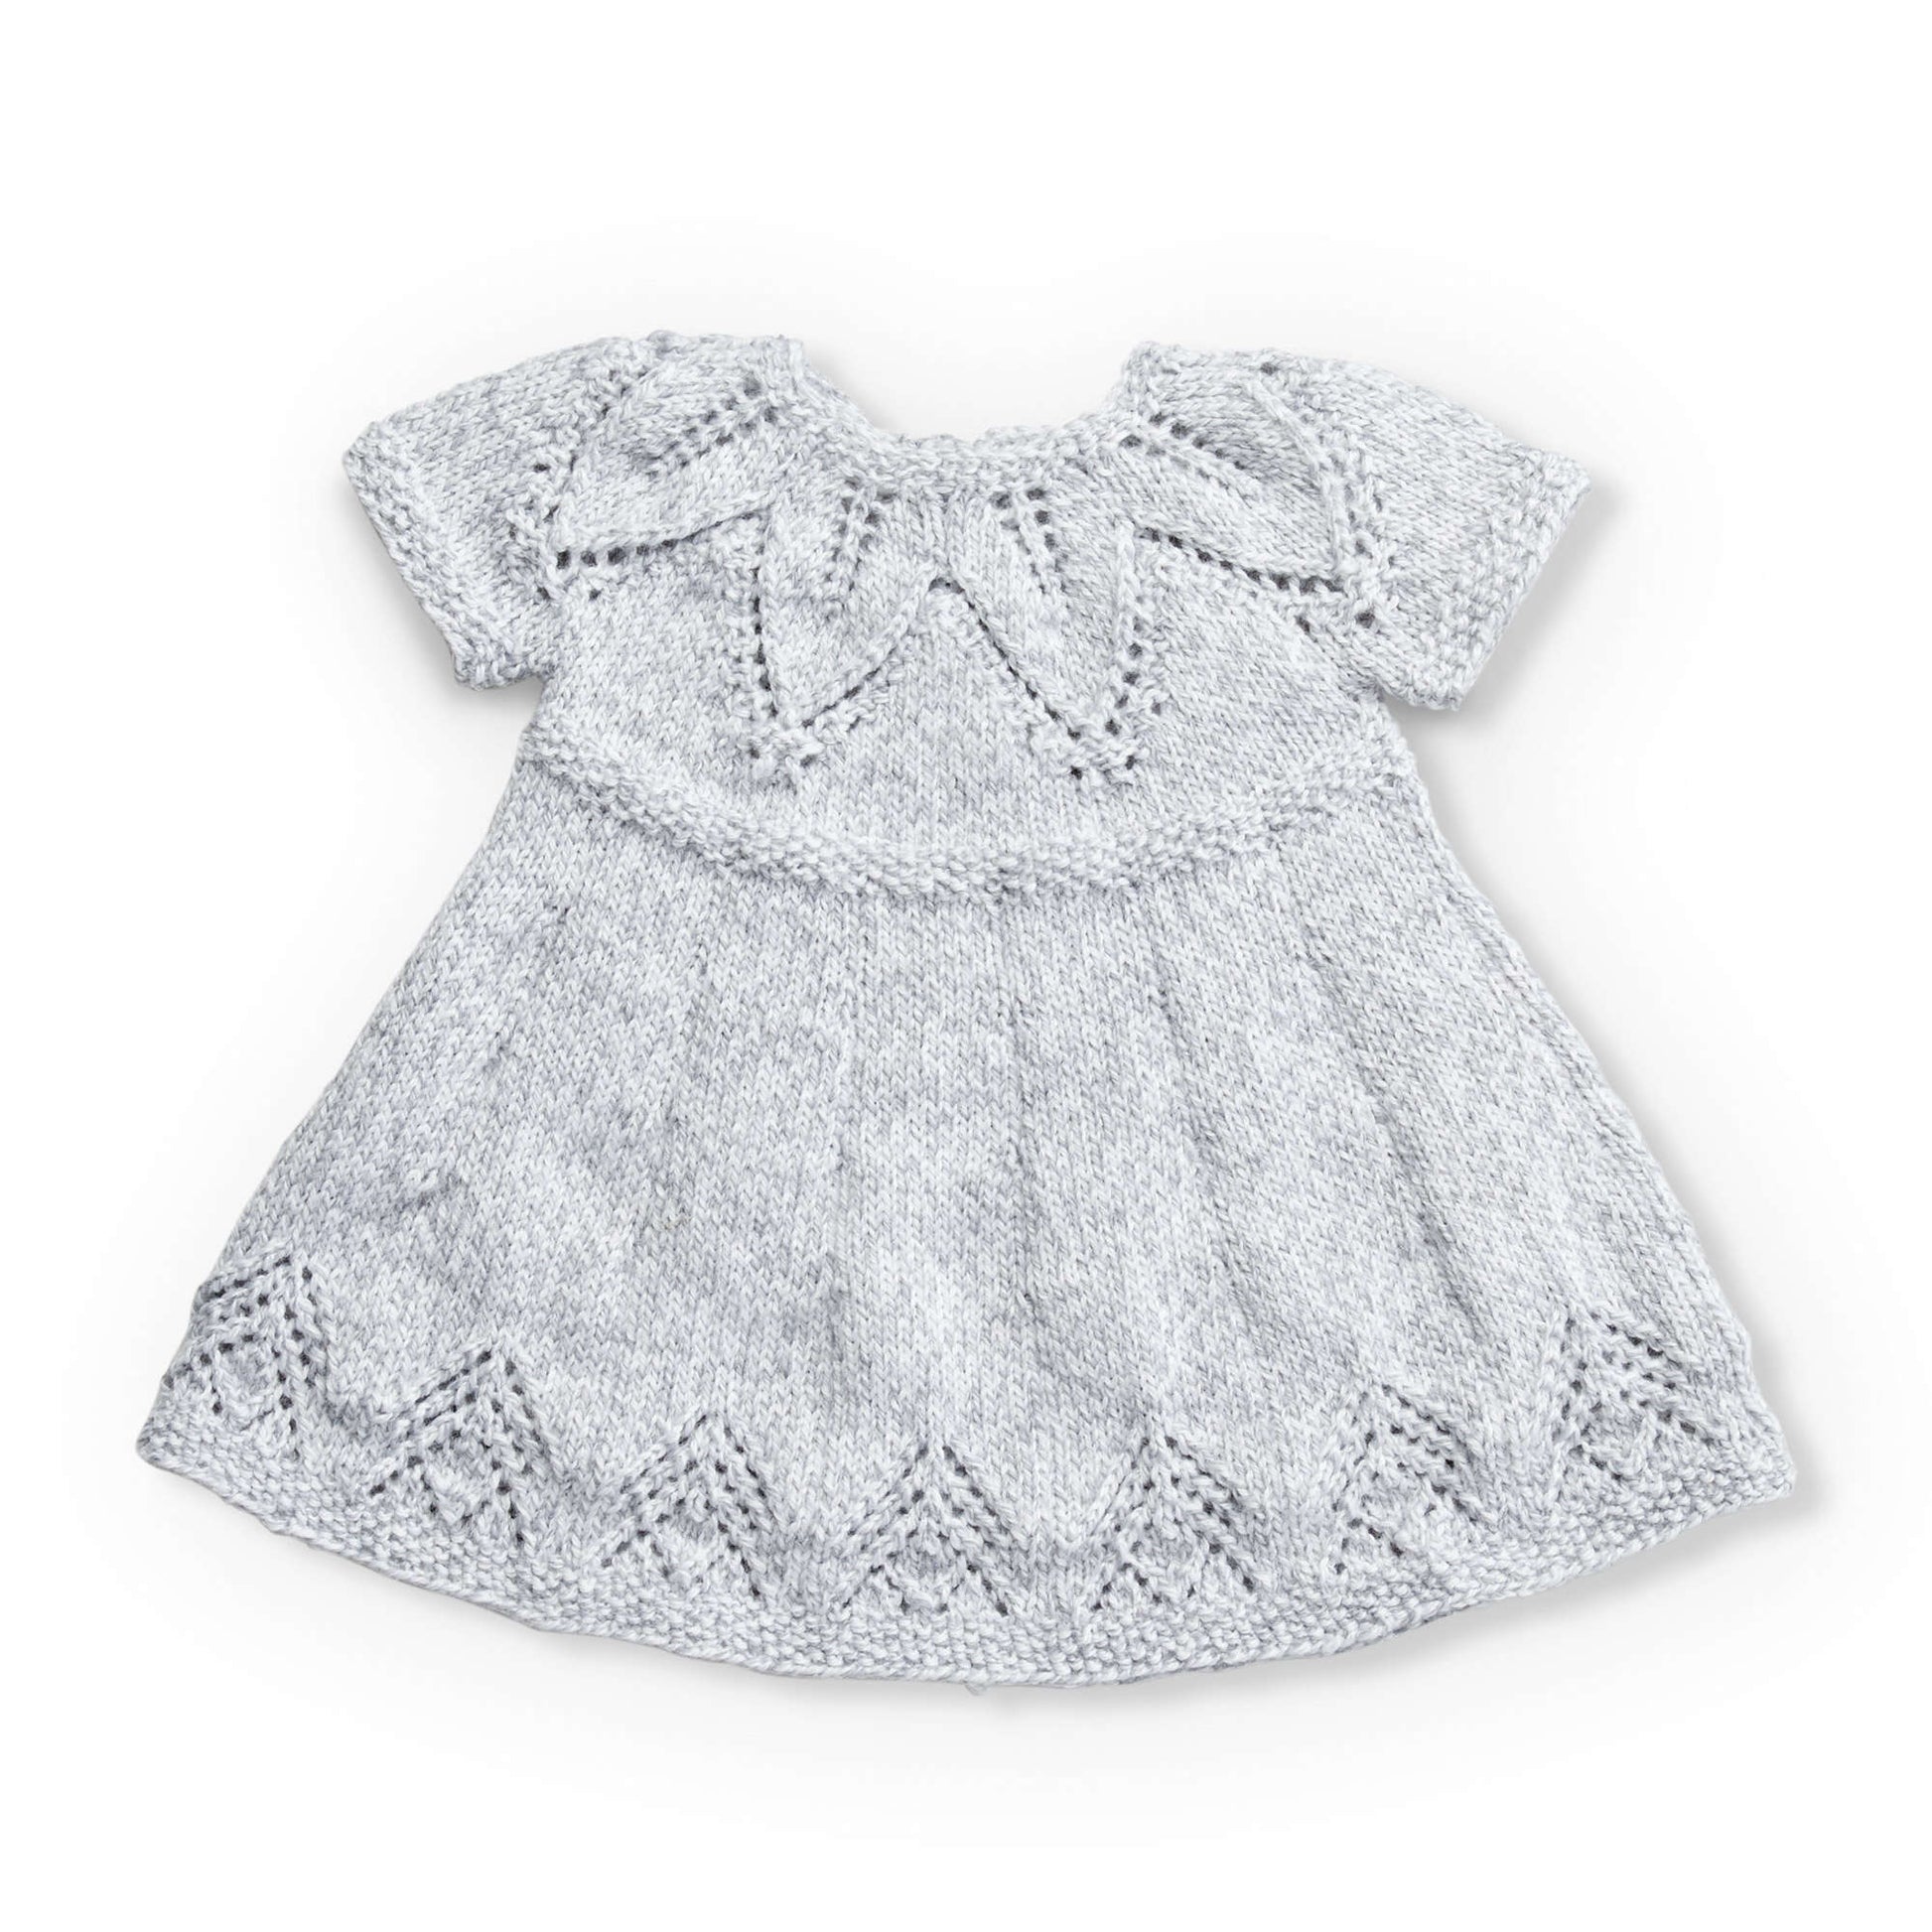
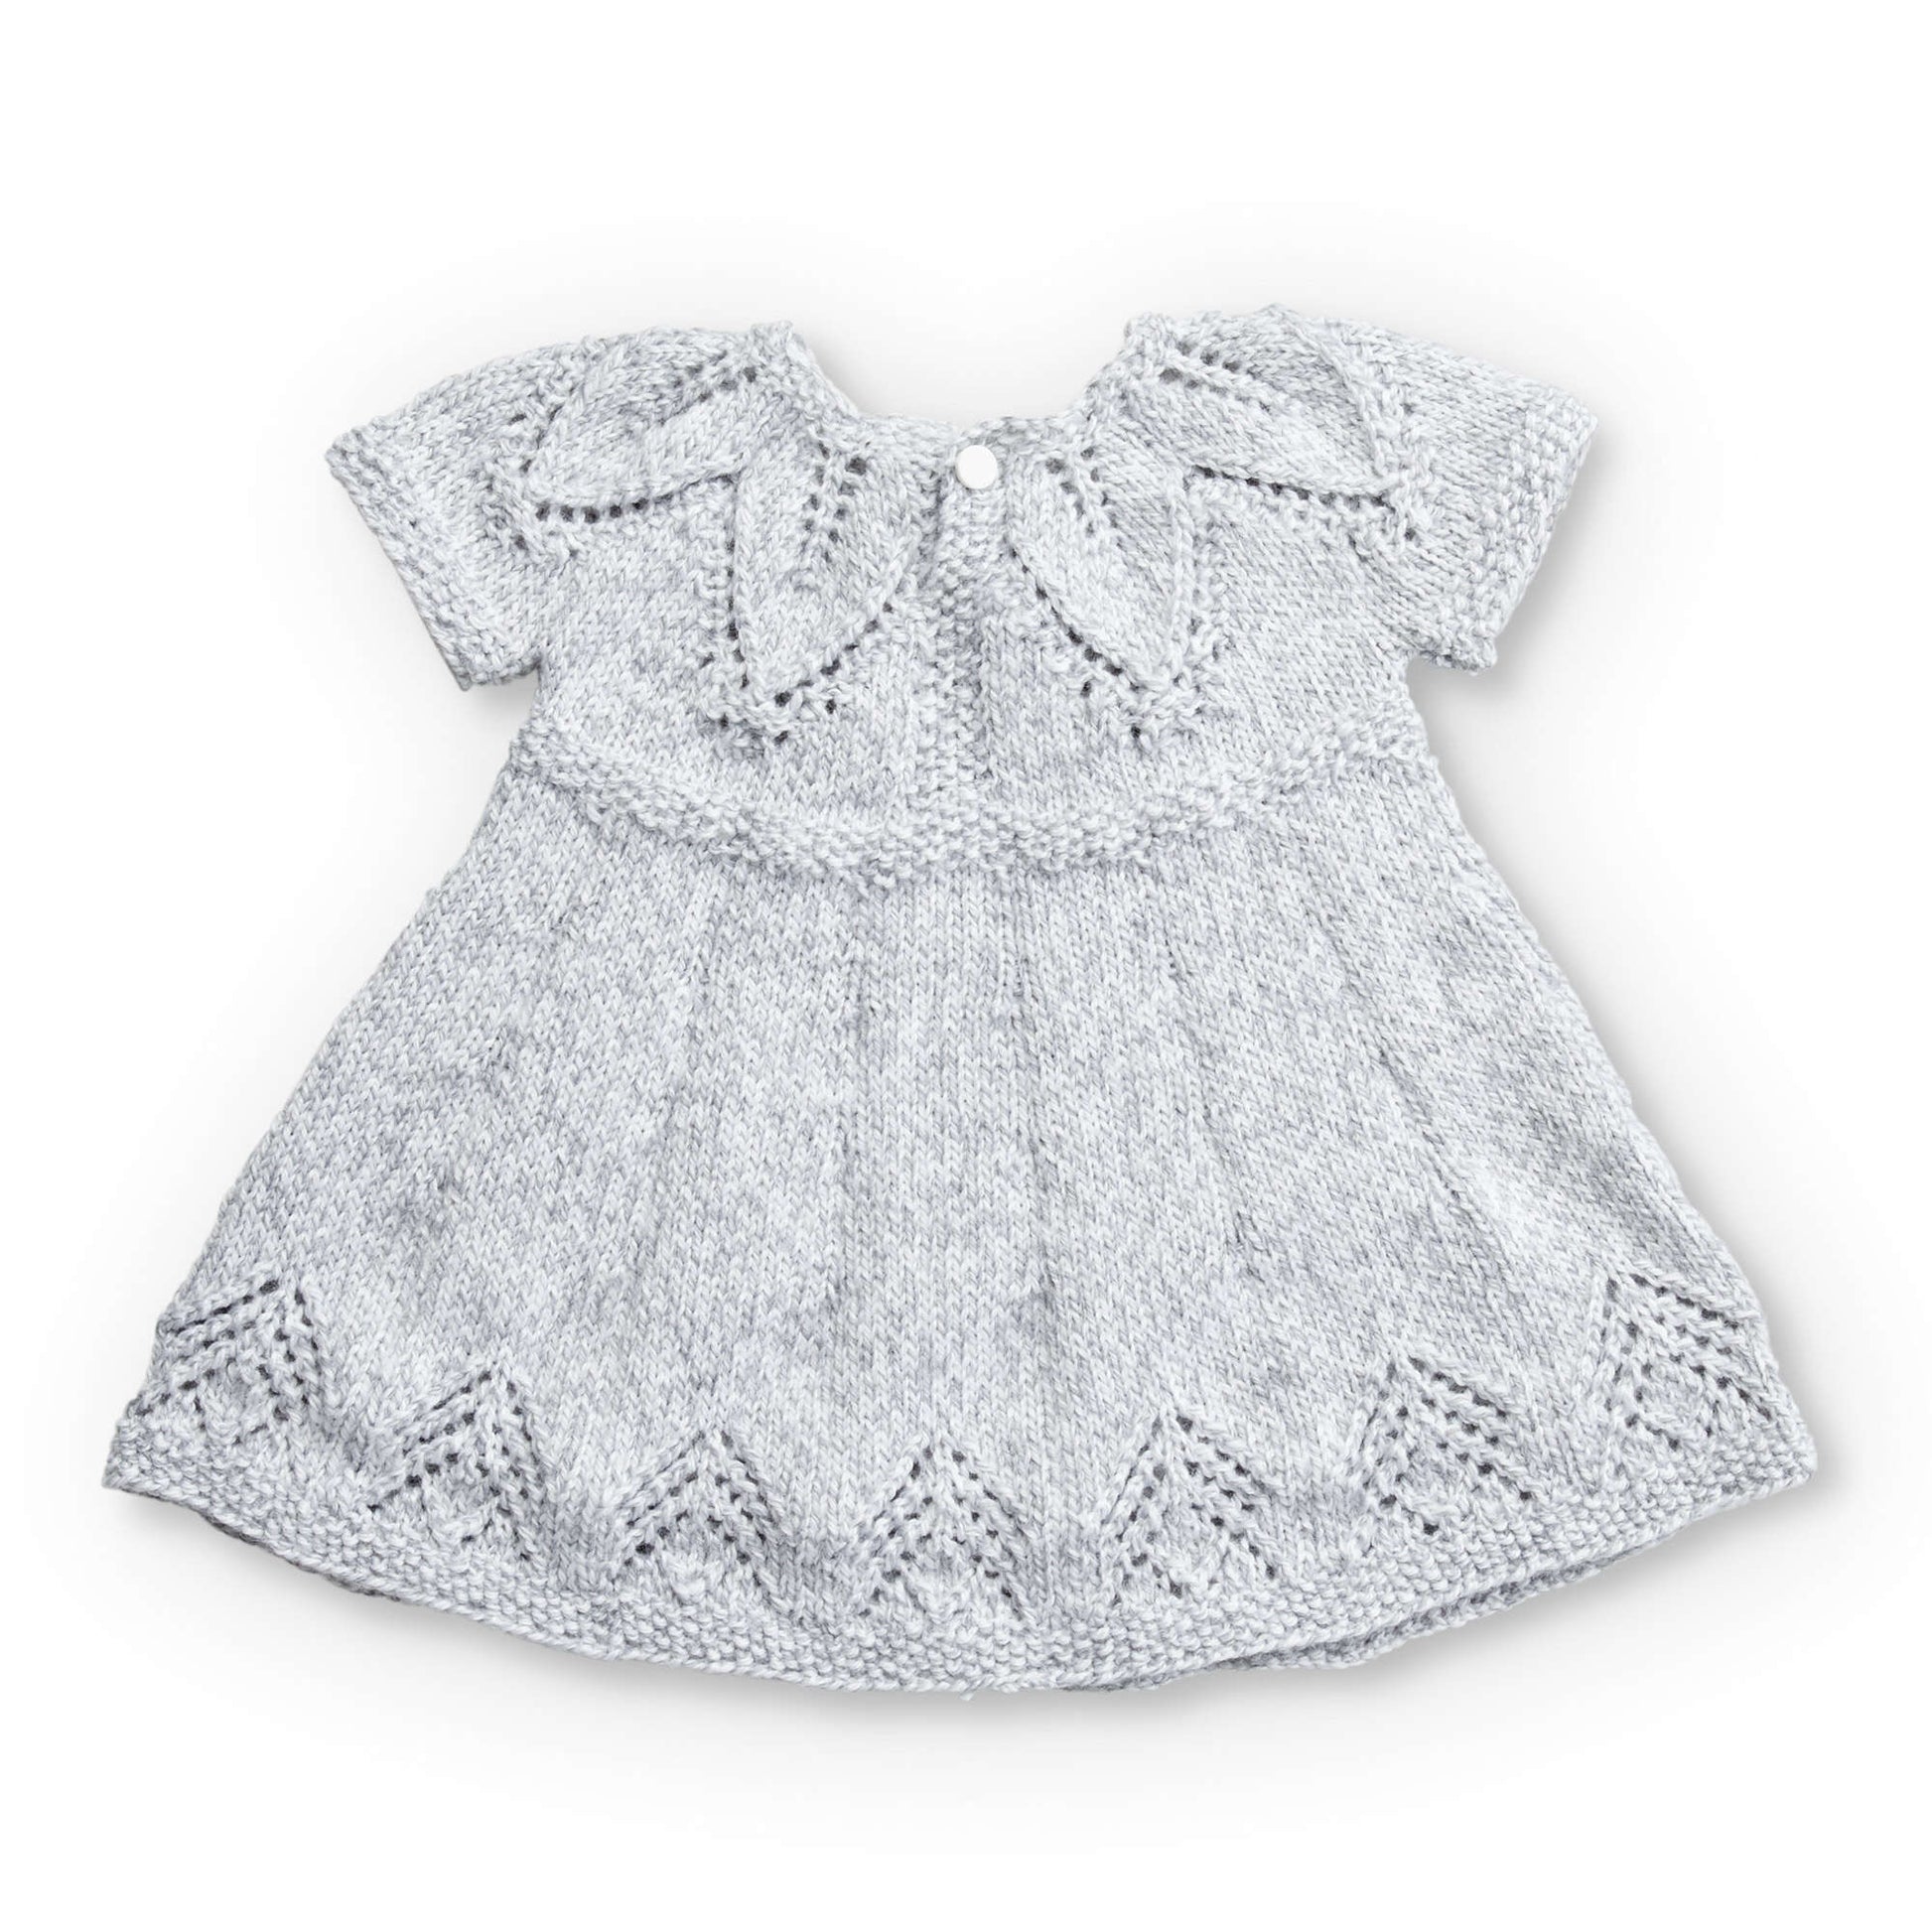
Free Intermediate Knit Dress Pattern for Babies
The intricate lace stitches in this knit pattern are perfectly showcased using Bernat Softee Baby, a lightweight yarn that's easy to care for. This knit pattern includes a seed stitch edging to contrast well with the smooth pattern of knit lace, while a grey marl shade is unexpected and gives this feminine design a modern look.
Material Notes
Don’t forget to pick up the finishing touches for your project! Take a look at the list of supplies you’ll need that aren’t included in your kit.
Kit does not include:
- 1 button
-
Sizing Notes
Sizing Notes
Making the right size is important! To make sure your project turns out the size described, always make a gauge swatch to match your tension. First time swatching? Learn more about knitting a gauge swatch!
Finished Measurements
To fit chest measurement:- 6 months: 17" (43 cm)
- 12 months: 18" (45.5 cm)
- 18 months: 19" (48 cm)
- 6 months: 21" (53.5 cm)
- 12 months: 22" (56 cm)
- 18 months: 23" (58.5 cm)
-
Care
Pattern Care
Treat your finished project right! Make sure you read the care directions closely so your hard work ages gracefully.
- Do Not Bleach
- Do Not Dry Clean
- Do Not Iron
- Machine Wash in Cool Water
- Dry Flat
WATCH THE VIDEO!
-
Reviews & Ratings
Reviews
Filter Reviews
RatingLocale1 to 3 of 3 Reviews1 – 3 of 3 ReviewsHighest to Lowest Rating5 out of 5 stars.a year agoI love this dress. I was the test knitter on this project. Just an FYI there is an error in the pattern which was not updated on the last release. Basically just omit round 30 and then you should be good to go.Helpful?London, UKSkill LevelIntermediate5 out of 5 stars.Easy to follow pattern.
a year agoI made this recently in cotton, whilst adding two colours made it a little tricky, the end result was beautiful.Yes, I recommend this product.
Helpful?Clarity of Pattern, 5.0 out of 5Spokane, WASkill LevelExperienced4 out of 5 stars.Precious dress pattern!
a year ago(size 12 mo) Sweet little dress pattern! Messed up the leaf pattern a few times because I tried to stream Netflix while doing it...leaf pattern isn't hard just don't get distracted while knitting it. It also helped me to put markers at the beginning of every repeat so if I did mess up I could easily see each repeat sections and diagnose where I went wrong. My only negative comment is that there is NO WAY you can fit the stitches on 29in circular needles to knit in-the-round. I started with 16 inch circulars and after the final skirt increase was able to switch to 24 inch circulars but just barely.Yes, I recommend this product.
Helpful?Clarity of Pattern, 4.0 out of 5 -
Questions & Answers
Questions
Start typing your question and we'll check if it was already asked and answered.1 - 9 of 9 QuestionsQ: How do you join the yarn to knit in the round? After row 12 do you knit a whole row then go on to round 13? Or is it done during round 13?
8 months ago1 AnswerA: We are happy to help you with Row 12 on the Bernat Fairy Leaves Dress. 12th row: (WS). Cast off 4 sts. Knit all knit sts and purl all purl sts as they appear to last 4 sts. (P1. K1) twice. 131 (149-149) sts. Join sts in rnd, placing a marker on first st. In the 12th row, you will begin with casting off 4 sts (this is for the button placket). Then, you work across knitting the knits and purling the purls until the last 4 sts. (P1. K1) twice. You should have 131 (149-149) sts per the size you are making. Next, the instructions say to join in the round, placing a stitch marker on the first stitch. To do this, you will cross over the first and last stitches. Using your left-hand needle, slip the first stitch from the right-hand needle purlwise. Then, using your right-hand needle, slip the now second stitch from the left-hand needle over the stitch just slipped and onto the right-hand needle purlwise. The stitches should now be crossed and switched from one needle to the other. Place stitch marker. This is the beginning of round. We hope this helps you well on your way!
8 months agoHelpful?Q: how do you join to knit in the round? After row 12, do you knit across then proceed to round 13?
8 months ago1 AnswerA: We are happy to help you with Row 12 on the Bernat Fairy Leaves Dress. 12th row: (WS). Cast off 4 sts. Knit all knit sts and purl all purl sts as they appear to last 4 sts. (P1. K1) twice. 131 (149-149) sts. Join sts in rnd, placing a marker on first st. In the 12th row, you will begin with casting off 4 sts (this is for the button placket). Then, you work across knitting the knits and purling the purls until the last 4 sts. (P1. K1) twice. You should have 131 (149-149) sts per the size you are making. Next, the instructions say to join in the round, placing a stitch marker on the first stitch. To do this, you will cross over the first and last stitches. Using your left-hand needle, slip the first stitch from the right-hand needle purlwise. Then, using your right-hand needle, slip the now second stitch from the left-hand needle over the stitch just slipped and onto the right-hand needle purlwise. The stitches should now be crossed and switched from one needle to the other. Place stitch marker. This is the beginning of the round. We hope this helps you well on your way!
8 months agoHelpful?Q: I am confused at Dividing the sleeves. How do you skip stitches to get to the ones you move to a marker?
a year ago1 AnswerA: You'll just move them over to the right handle needle without knitting them. This portion of the directions is telling you to not knit/purl them yet. You can move them to the right needle one by one until you get to the ones that will be moved to a stitch holder. Since the following round has increases it was easier to have you move stitches around this way vs risk loosing track of where you were by working the increases and moving them at the same time.
a year agoHelpful?Q: Can a full video tutorial be done for the bottom section of this dress after separating the sleeve stitches I'm stuck there. Please assist
a year ago1 AnswerA: We're sorry we don't have a tutorial for the full pattern but we will reach out to you directly to see how we can further assist you through this section
a year agoHelpful?Q: Is there an adult version available? I love this pattern and would love to make a matching set
a year ago1 AnswerA: We're sorry this is not available in an adult size.
a year agoHelpful?Q: In the 11th row, where it says "(K1. P1) twice. (P2. yo. ssk. K4. yo. K1. yo. K4. K2tog. yo. P1) 7 (8-8) times. P1. (P1. K1) twice". Is this the correct version? Somehow having 3 pearl stitches (P1, then back to beginning of P2) is messing up the pattern.
a year ago1 AnswerA: Hi, thank you for reaching out to us with your question on the Bernat Fairy Leaves Knit Dress. This is so adorable and a very popular pattern. Just to be sure, there was an update on this pattern, on July 4, 2022. Just double check that you have the current copy of this pattern. We have not had any stitch count situations come up for the Lace Pattern section you are currently working on. As you start this pattern, you should be working flat, you will join in the round during row 13. Each row of the Lace Pat increases by 14 sts. Each row of the Lace pattern has 4 sts before the lace pattern repeat and 5 sts after the last lace pattern repeat. Each WS row has 4 sts at the beginning and you knit the knit sts and purl the purl stitches, purl the Yo's. Be sure your stitch count is the same as the previous RS row after finishing a WS row. If we may suggest, using markers can make working a lace pattern much easier to count for accuracy. I do not like to count but I find that my knit life is much easier when I use markers. Separating each section of the lace repeat can make a difference and increase speed. The stitch count on every lace pattern section increases, so moving your stitch markers to the end of every new lace repeat will be necessary. After Row 4 of the dress you begin the Lace Pattern. You would have 51 (57-57) sts, depending on the size you are making. Check the stitch count for your size and perhaps restart from this point. Using the hints and reminders above, I hope that you able to be successful knitting this adorable lace pattern! Please don't hesitate to reach out to us for further help: inquire@yarnspirations.com
a year agoHelpful?Q: Just about to separate for sleeves but don't know what you mean by "skip" first 30 sts. How do I "skip" the sts? I wish separating for the sleeves was part of your youtube video tutorial
2 years ago1 AnswerA: Hello and thanks for reaching out! Skip just means don't knit/purl them right now. You can just move the stitches from the left to right needle, put the appropriate number of sleeve stitches on a holder, and work your way to the end of the round . Once your sleeve stitches are on stitch holders (I suggest scrap yarn) and you're back to the end of the round you'll be ready to work the waistband. The wording in the sleeve section can make it seem like there's something else to be done before then but there isn't. Move the sleeve stitches to the holder and then work either the Size 6 mos only or Size 12 and 18 mos only section. Once that row is worked you'll be ready to begin the waistband. Does that clear things up?
2 years agoHelpful?Q: I just began row 2 of the lace pattern (dress) but finding if I follow the text "knit all knit sts and purl all purl sts as they appear" my sts don't match up with row 2 of chart 1 lace pattern.
2 years ago1 AnswerA: Whenever you have a pattern that includes both written and charted directions you'll want to pick one or the other to follow. Chart "wording" has to be done differently in order to create a clear chart without an excessive legend. Written directions can be as verbose as they want in order to give the same information. With regards to the chart vs the "as they appear", the end fabric is stockinette. Each leaf is eventually flanked by a YO and 2 stitches of garter on each side. At the beginning of the leaf, the portion you're on, there is a single garter stitch placed between each leaf. The first couple rows are more difficult to read as far as which stitch should be knit or purled since you don't have much to look at yet but knowing which parts are stockinette or not helps. We also have a tutorial for this pattern. https://www.youtube.com/watch?v=w_FtVI86xEA You might find it helpful. They beginning discussing the chart around the 3:40 mark, they go back to the written directions around the 5 min mark, and begin the knitting around the 5:50 mark. That seems like a bit of time between when they move on to the section vs when they start knitting it but they take that time to discuss both aspects and explain it a bit. I recommend watching it as well since they may mention something I've glossed over here. I hope this gets you back on track!
2 years agoHelpful?Q: Thank you for this precious little dress pattern! I'm confused with the 30th rnd of the dress (before dividing for sleeves). The text reads (K1,P1) twice and then.... "Knit to end of rnd". However, chart I reads "P10, K1,P11"
2 years ago1 AnswerA: Hello and thanks for reaching out! It looks like you might be working an older version of this pattern. The most recent version is here: https://www.yarnspirations.com/on/demandware.static/-/Sites-master-catalog-spinrite/default/dw2f4947a8/PDF/BRK0214-009749M.pdf This updated version says to: (K1. P1) twice. Knit all knit sts and purl all purl sts as they appear to end of rnd. I'm copying Row 30 so you can spot it easily: 30th rnd: (K1. P1) twice. Knit all knit sts and purl all purl sts as they appear to end of rnd. Keep on with the established stockinette exactly like you have been. I hope this clears things up for you!
2 years agoHelpful?